The BREAD (Broadly Reconfigurable and Expandable Automation Device) Text To Speech Slice is a BREAD slice that interfaces with a Raspberry Pi. The slice receives text data as input, which is used to produce speech audio.
Overview
The board consists of a standard BREAD Slice board that:
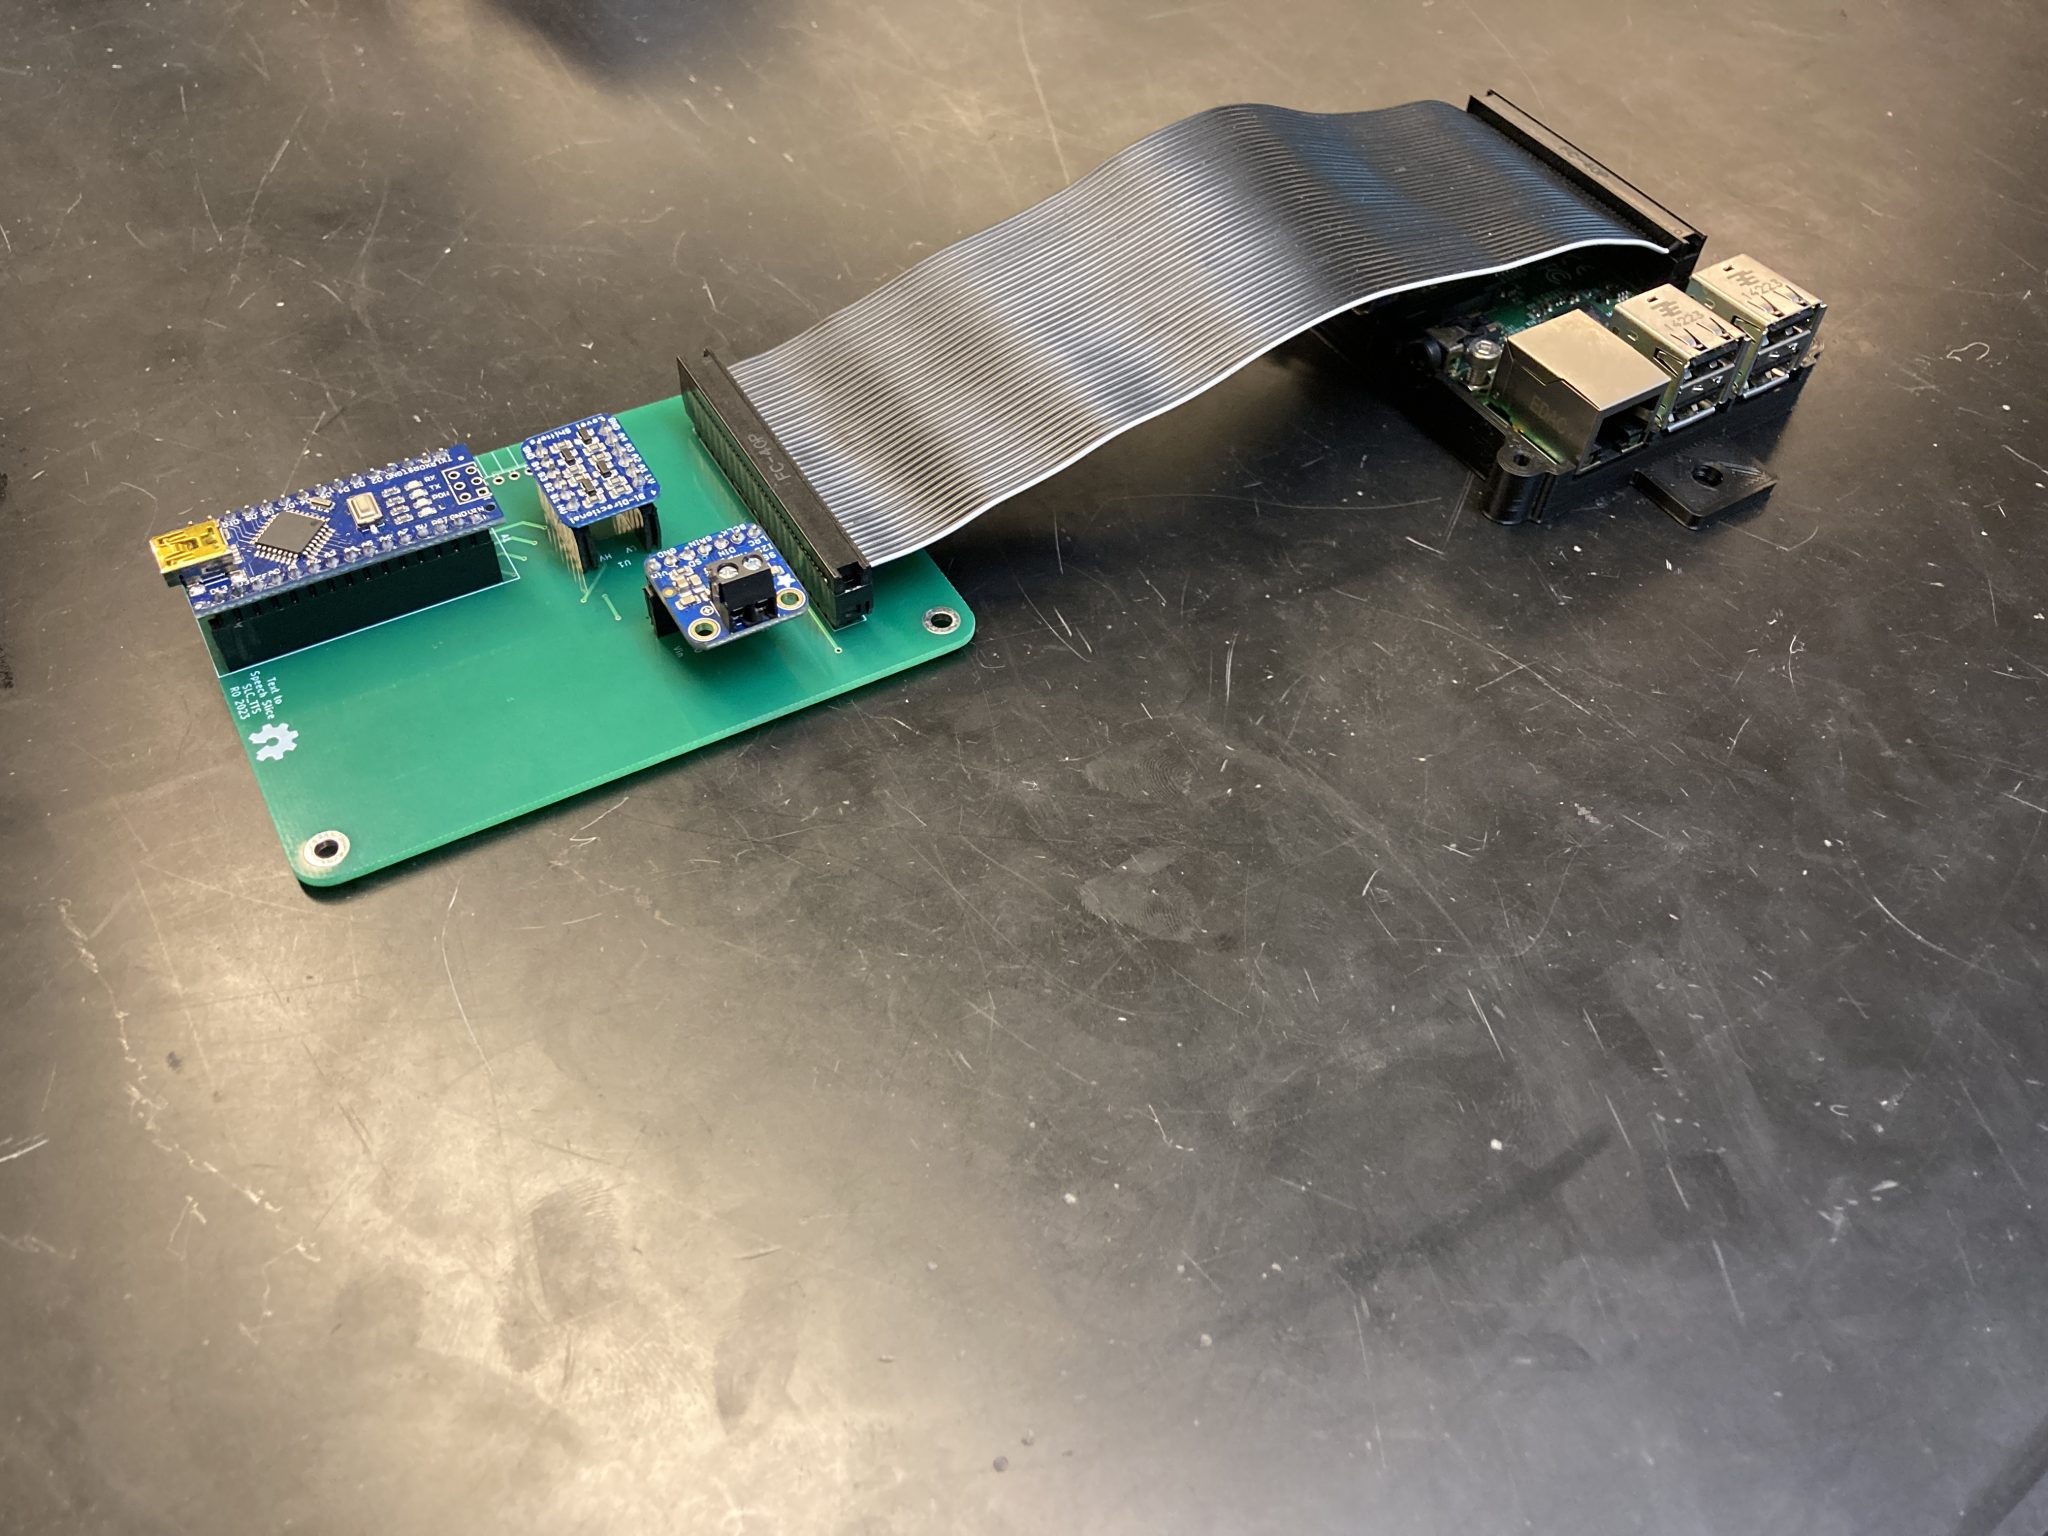
- Connects to a Raspberry Pi’s 40-pin GPIO via a ribbon cable
- Receives text data via its serial connection
- Routes that data from the Nano to the Pi via SPI
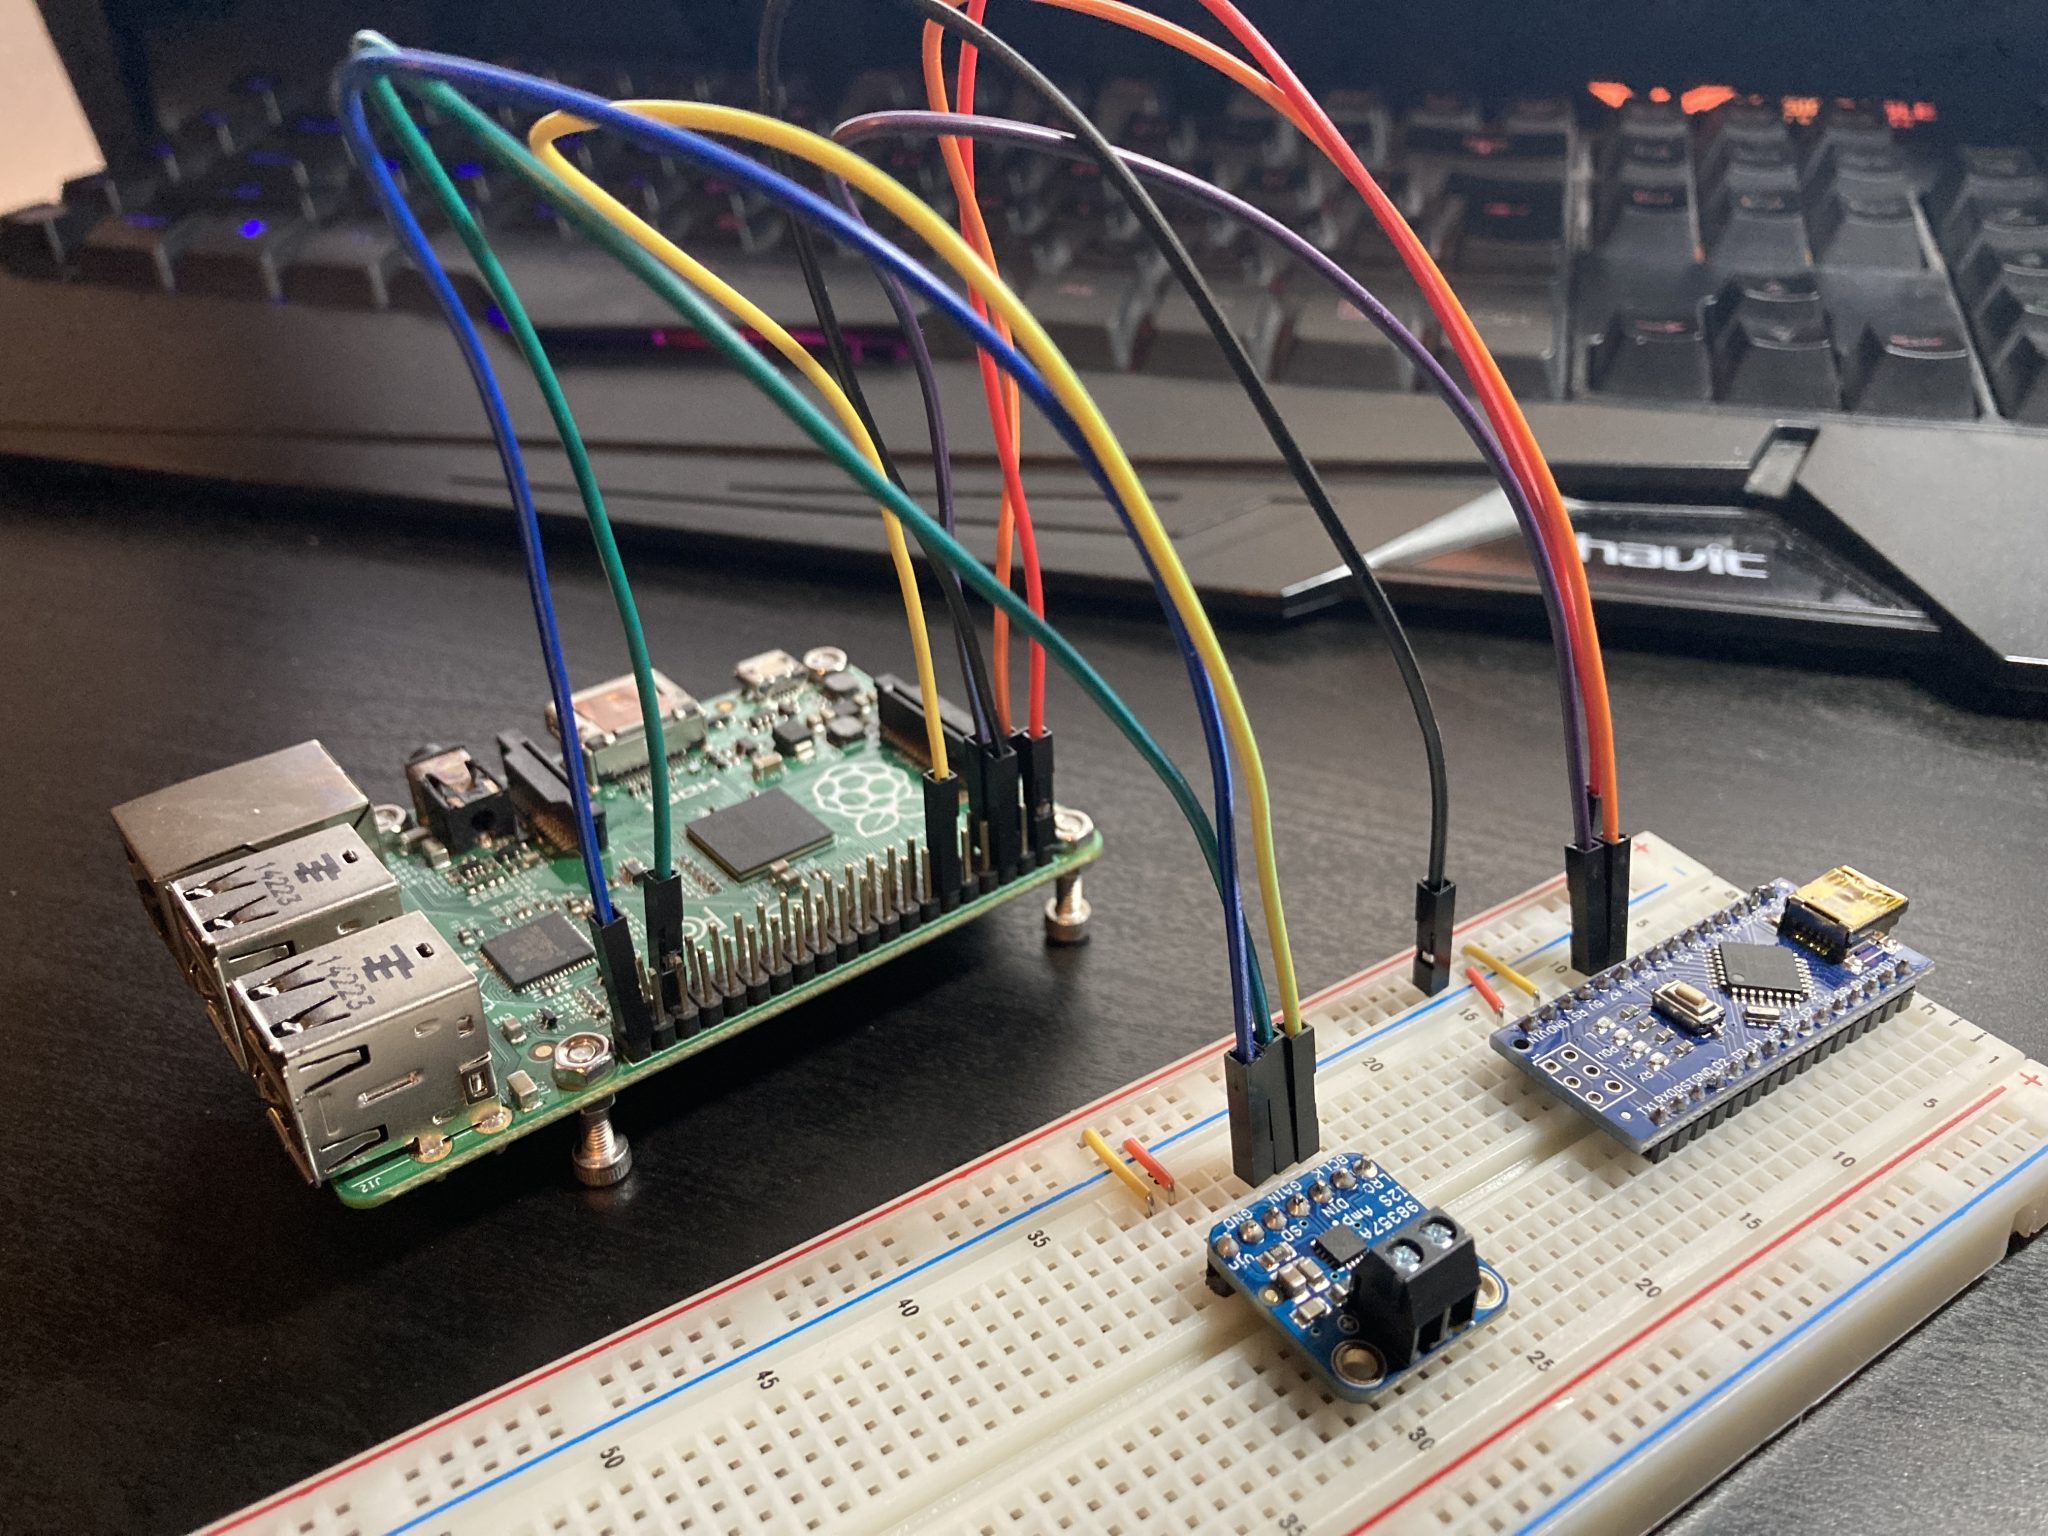
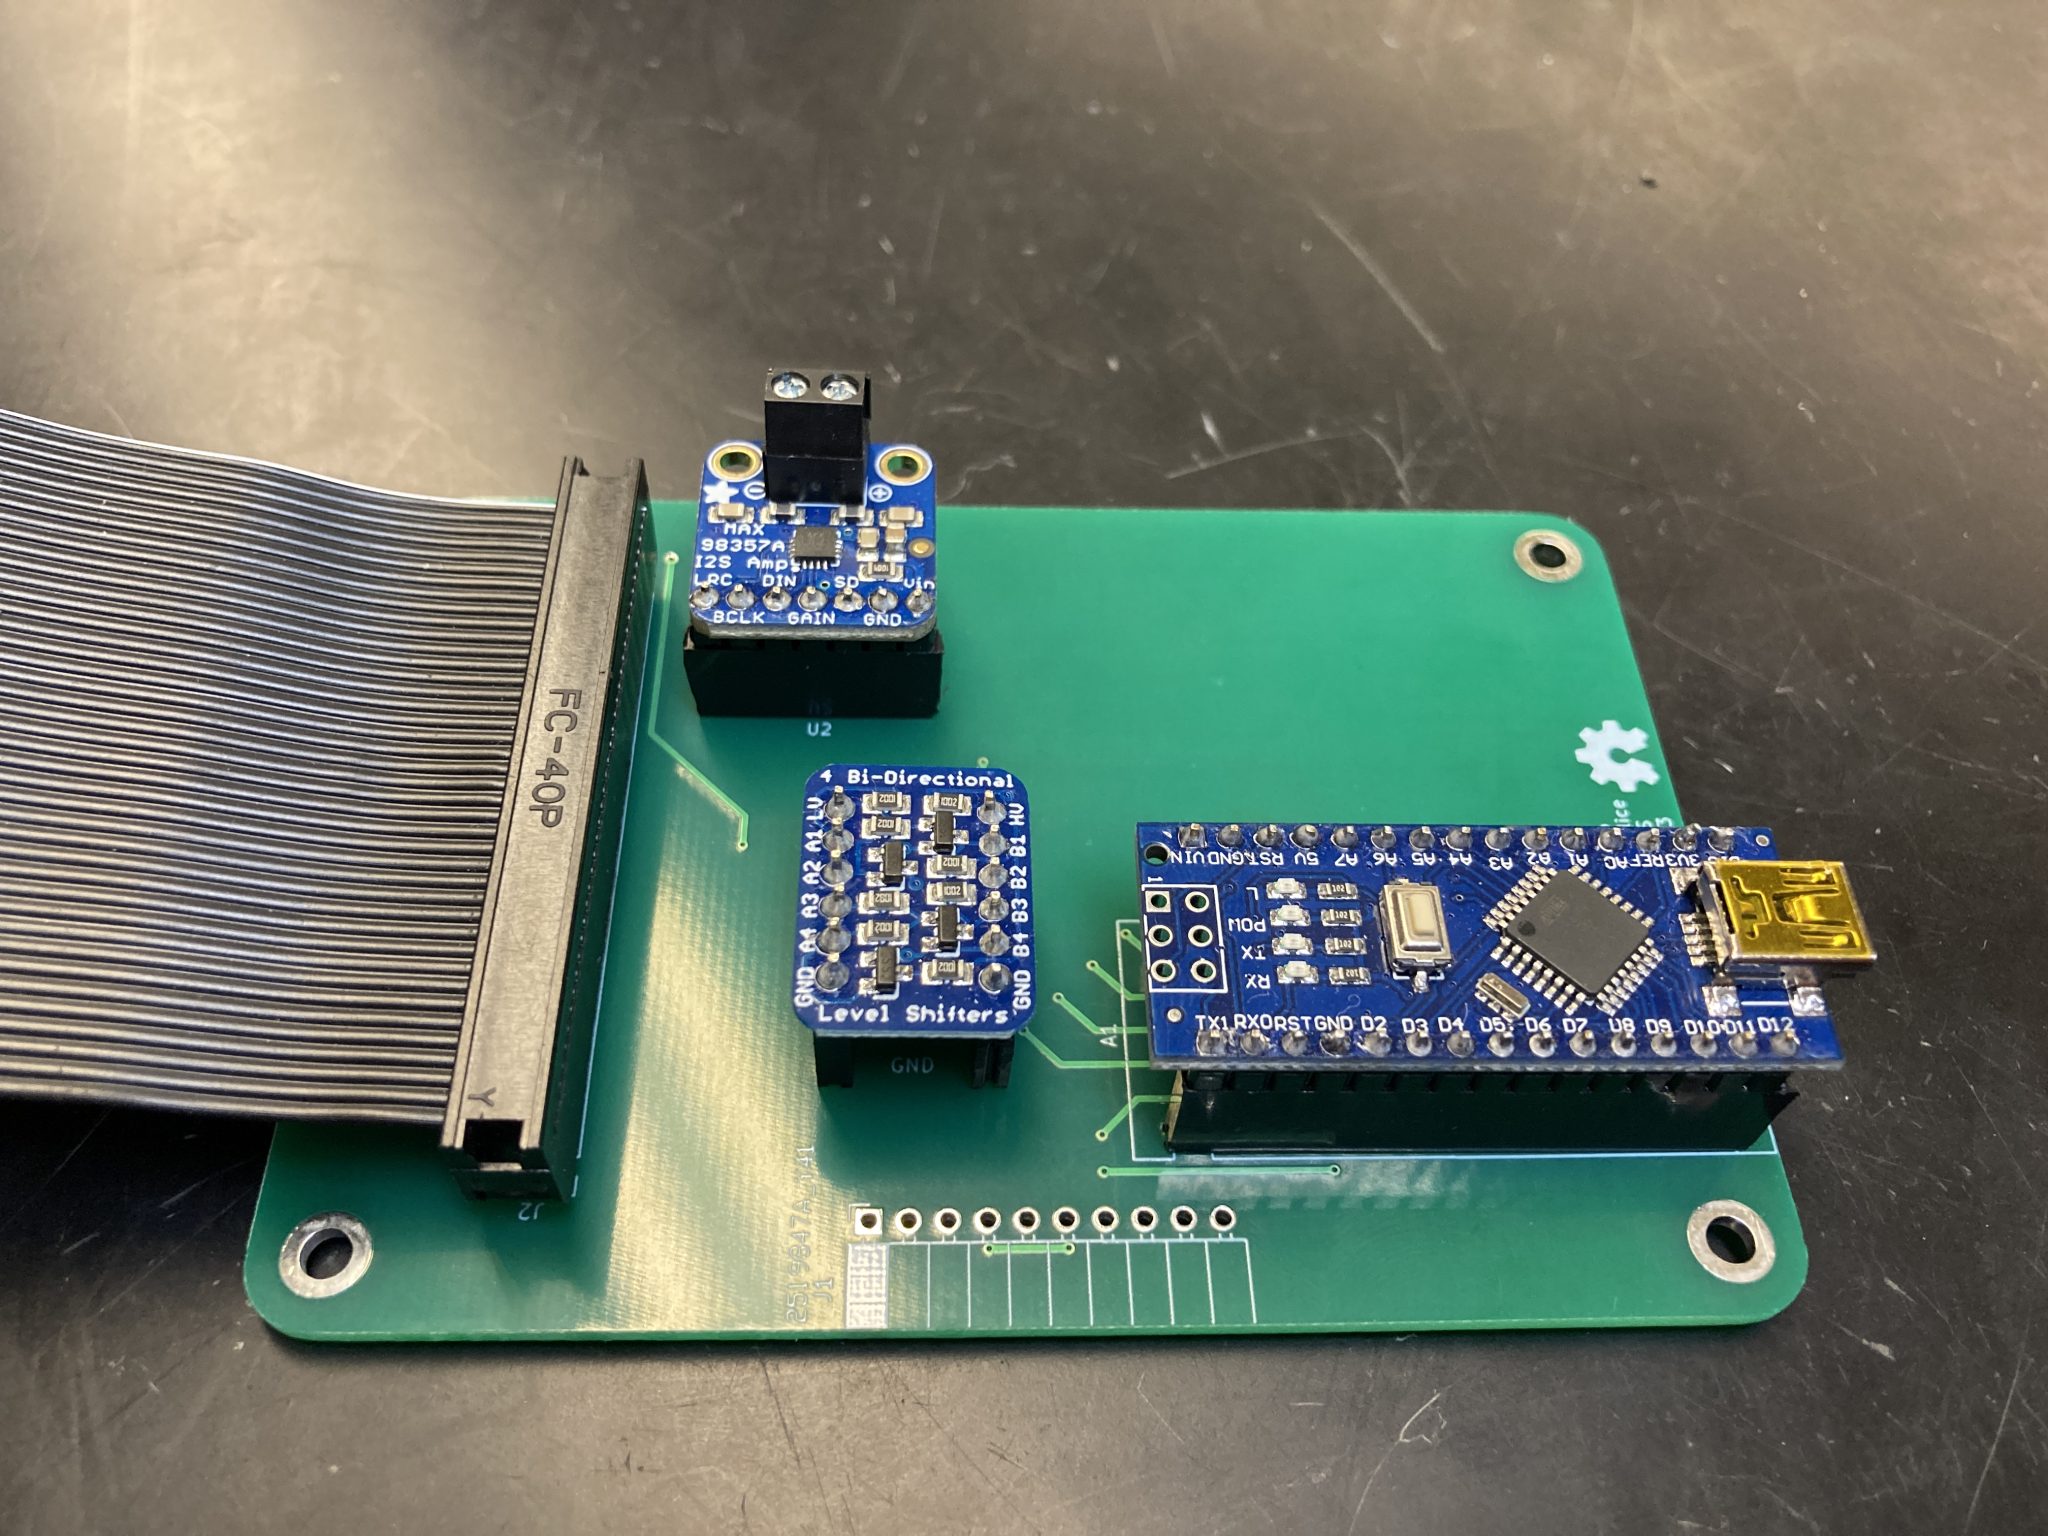
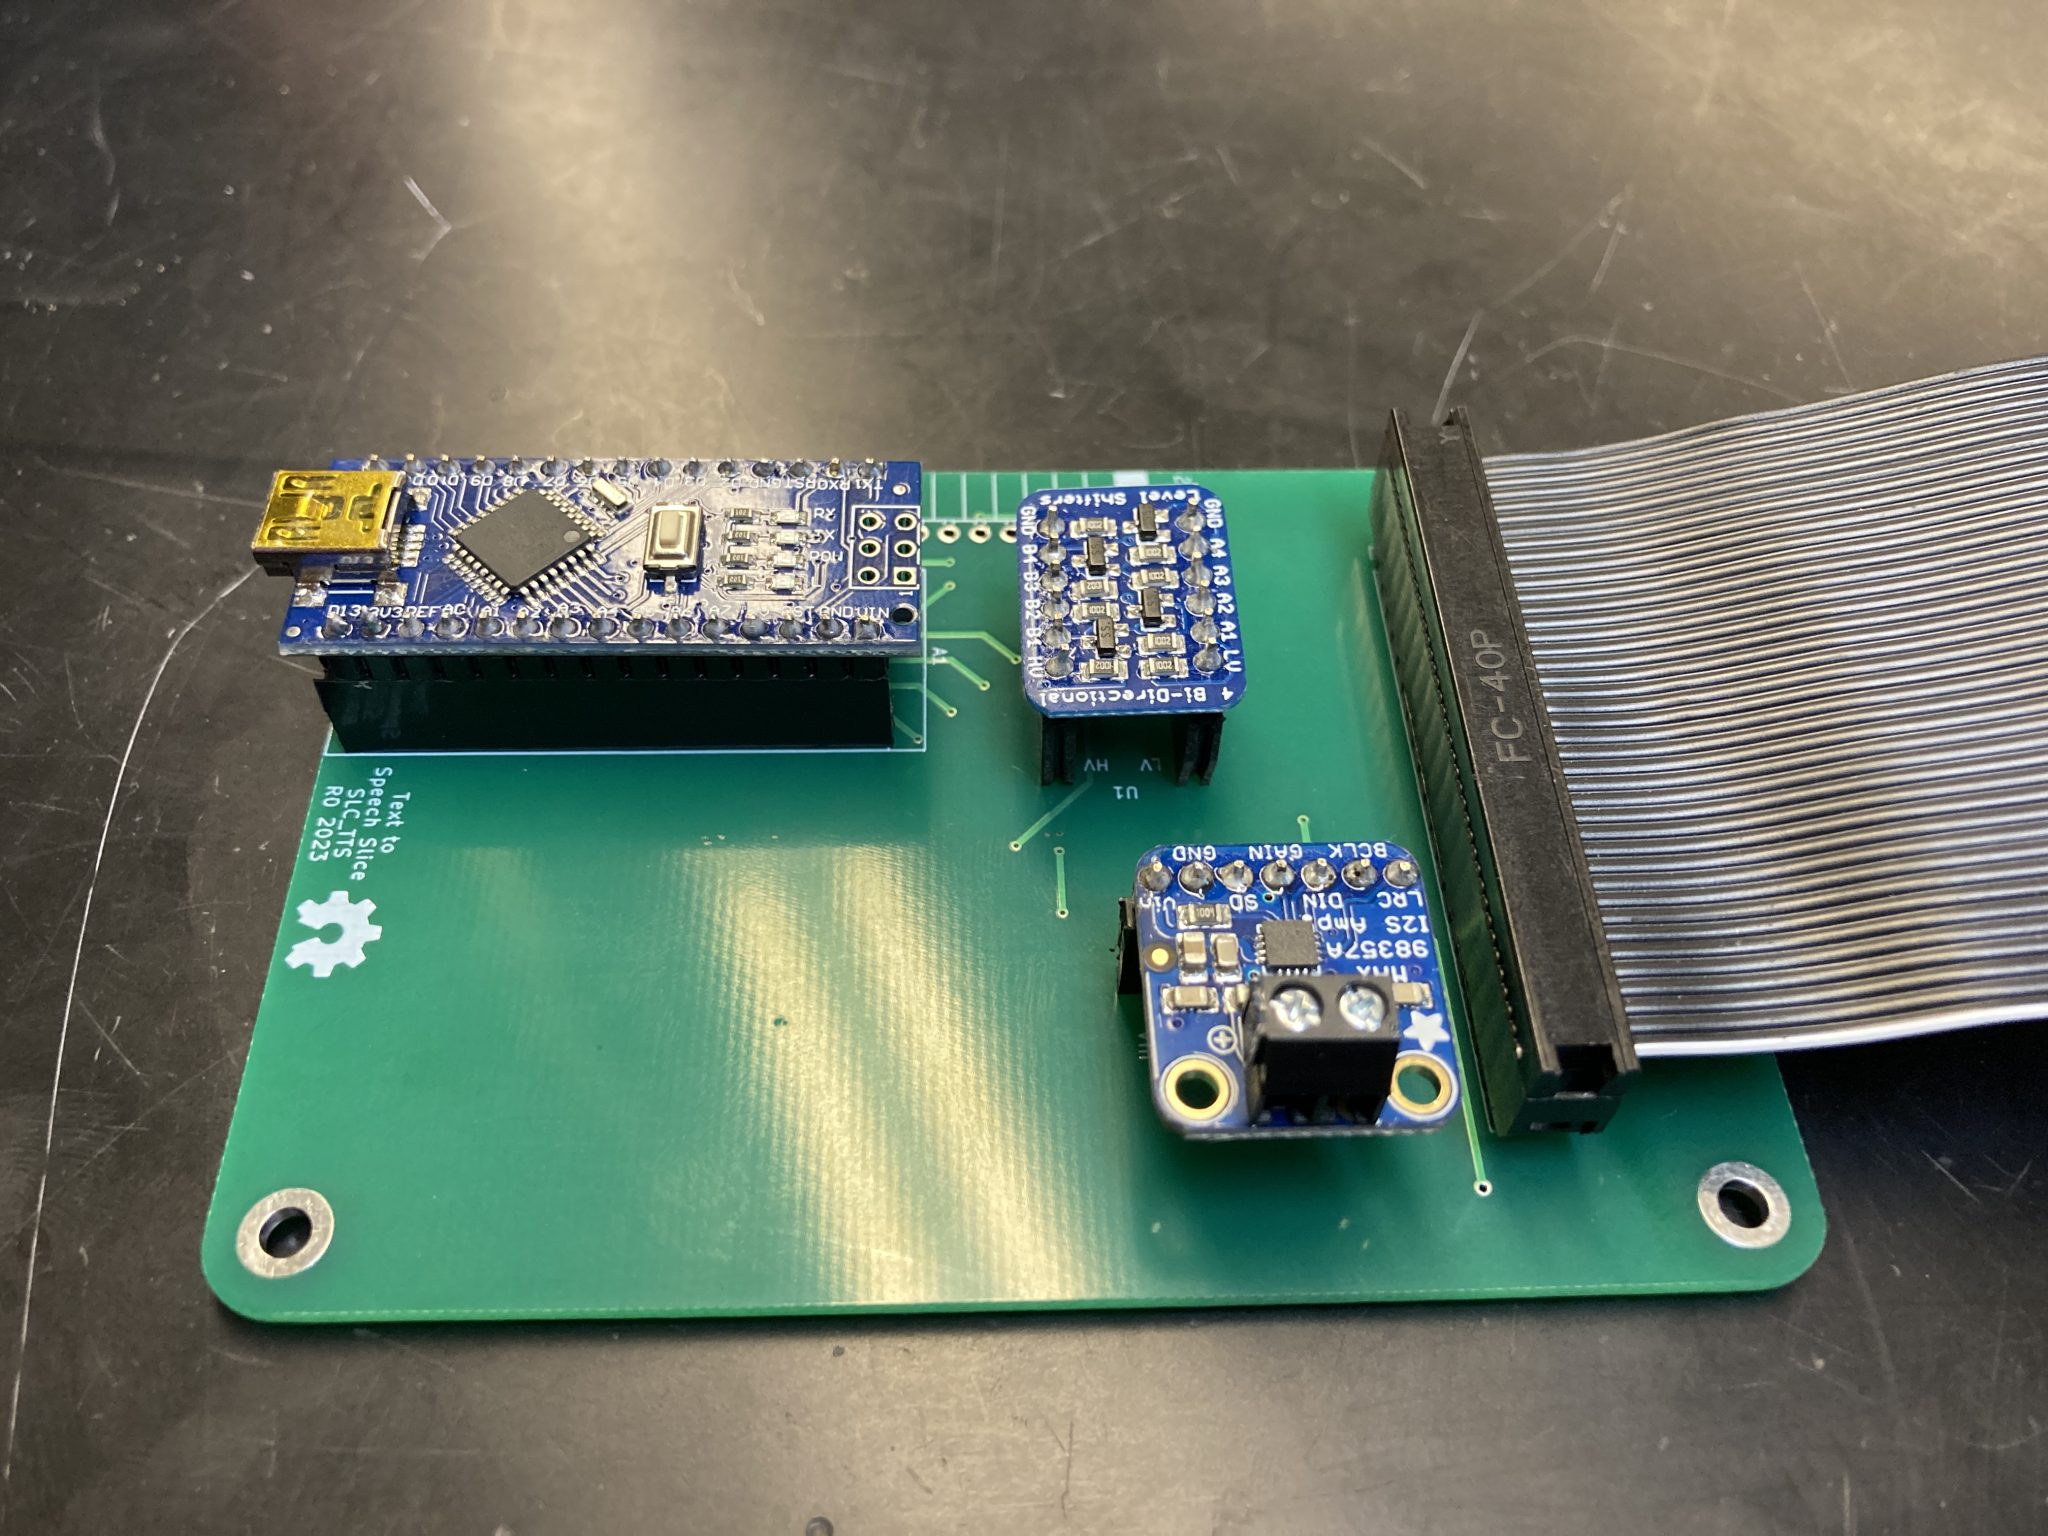
- Uses two daughter boards (Adafruit level shifter and Adafruit I2S amp)
- Produces speech audio using eSpeak, to be played on a speaker connected by the Pi’s GPIO
The slice has various potential use cases, particularly in user experience. This slice would allow BREAD robotics projects to have a voice, which could be useful both during development and for the end user. Additionally, the slice has potential to be used for accessibility applications, particularly for individuals with visual impairments.
This slice’s design also opens the door for development of further slices that utilize the computing potential of a Raspberry Pi or other similar device. The ability to interface with these types of devices makes slices with more computing-intensive purposes feasible.
Goals
The project’s goals are as follows:
Functional Requirements:
- 1. The final product should be on an actual PCB
- 2. The final board should match other BREAD slices in terms of form factor and hardware (Arduino Nano)
- 3. The device’s output should be reasonably responsive
- 4. The device should be able to easily interface with typical speakers
- 5. The device should properly interface with the loaf’s Arduino Nano
Value-Added Goals:
- 6. Find a work-around or solution to the character limit that the current model suffers from
- 7. Allow customization of settings such as the voice, speed, volume, etc.
The project has met goals 1, 2, 3, 4, and 7. Unfortunately, the scope of the development of software had to be reduced due to shifts in project team composition, so the device’s Arduino code does not fully meet the standards of typical BREAD slice code, and is not able to interact with the loaf’s Arduino Nano. However, the board is compliant with BREAD standards for form factor and hardware, so only the code will need to be updated in the future.
The value-added goal of setting customization was achieved by allowing the user to input a special set of characters (Currently “###”) to denote that the input being received is a command. Currently, the only command implemented is for volume control, but adding further capabilities would be relatively trivial.
Recreation Steps Overview
The “Hardware” folder in the project’s OSF repository contains the KiCad files needed for fabrication of the board. JLCPCB is a recommended service for custom PCB orders.
The Bill of Materials for the project can be found below. Once all of the pin headers are soldered to the board, the Arduino Nano, level shifter, and I2S amp (with speaker connected) can be inserted into the header pin slots. The Raspberry Pi GPIO ribbon cable can be connected to the slice’s 40-pin array and the Raspberry Pi’s 40-pin array.
Upload the Arduino sketch to the on-board Arduino Nano using the Arduino IDE.
Using the Raspberry Pi Imager, install Raspbian Lite (CHOOSE OS > Raspberry Pi OS (other)), a Raspbian build with no desktop environment. Add the Python script file to the root of the SD card before inserting it back into the Raspberry Pi.
Boot the Raspberry Pi. Once booted, enable SPI communications using the Raspberry Pi’s configuration menu (sudo raspi-config), and enable I2S audio following the guide found here. The open source library eSpeak must be installed (sudo apt-get install espeak), as well as Python if it is not already installed.
The Python script can then be set to run each time the Raspberry Pi is booted, or it can be run manually from the command line.
A full set of detailed instructions can be found in the manual, which is included in the “Documentation” folder in the project’s OSF repository.
Usage Demonstration
In this demonstration, the Arduino IDE is used to send text data to the serial port on the on-board Arduino Nano.
Bill of Materials
The total cost of the device is roughly $30 (including the cost of a JLCPCB order), plus the cost of the Arduino and RPi/RPi-compatible device (varies)
| Part ID | Name | Qty | Cost/ea. | URL |
| A1 | Arduino Nano | 1 | 24.90 | https://www.digikey.com/short/v8cmbt7m |
| A1 | 1×20 female header pins | 2 | 0.98 | https://www.digikey.com/short/4h4njfbf |
| C1, C2 | 10uF surface-mount capacitor | 2 | 0.56 | https://www.digikey.com/short/qfrbqfhd |
| J1 | 1×10 female header pins (90 deg) | 1 | 0.79 | https://www.digikey.com/short/23bfwwjh |
| J2 | 1×20 male header pins | 2 | 0.90 | https://www.digikey.com/short/597z5m75 |
| U1 | Adafruit Level Shifter | 1 | 3.95 | https://www.adafruit.com/product/757 |
| U2 | Adafruit I2S Amp | 1 | 5.95 | https://www.adafruit.com/product/3006 |
| U1, U2 | 1×10 female header pins | 3 | 0.70 | https://www.digikey.com/short/0927z9wq |
| N/A | Adafruit GPIO ribbon cable | 1 | 2.95 | https://www.adafruit.com/product/1988 |
| N/A | Raspberry Pi or Compatible Device | 1 | 69.99 | https://www.amazon.com/dp/B00T2U7R7I/ |
Download
The download for this project’s files, including documentation, hardware, and firmware, can be found at the project’s OSF repository.
Additional Resources
Open source libraries/resources used:
Additional information and resources on the project can be found here.
Gallery