
Lasersaur 
Prepared by:
Chase East, Ike Alafita
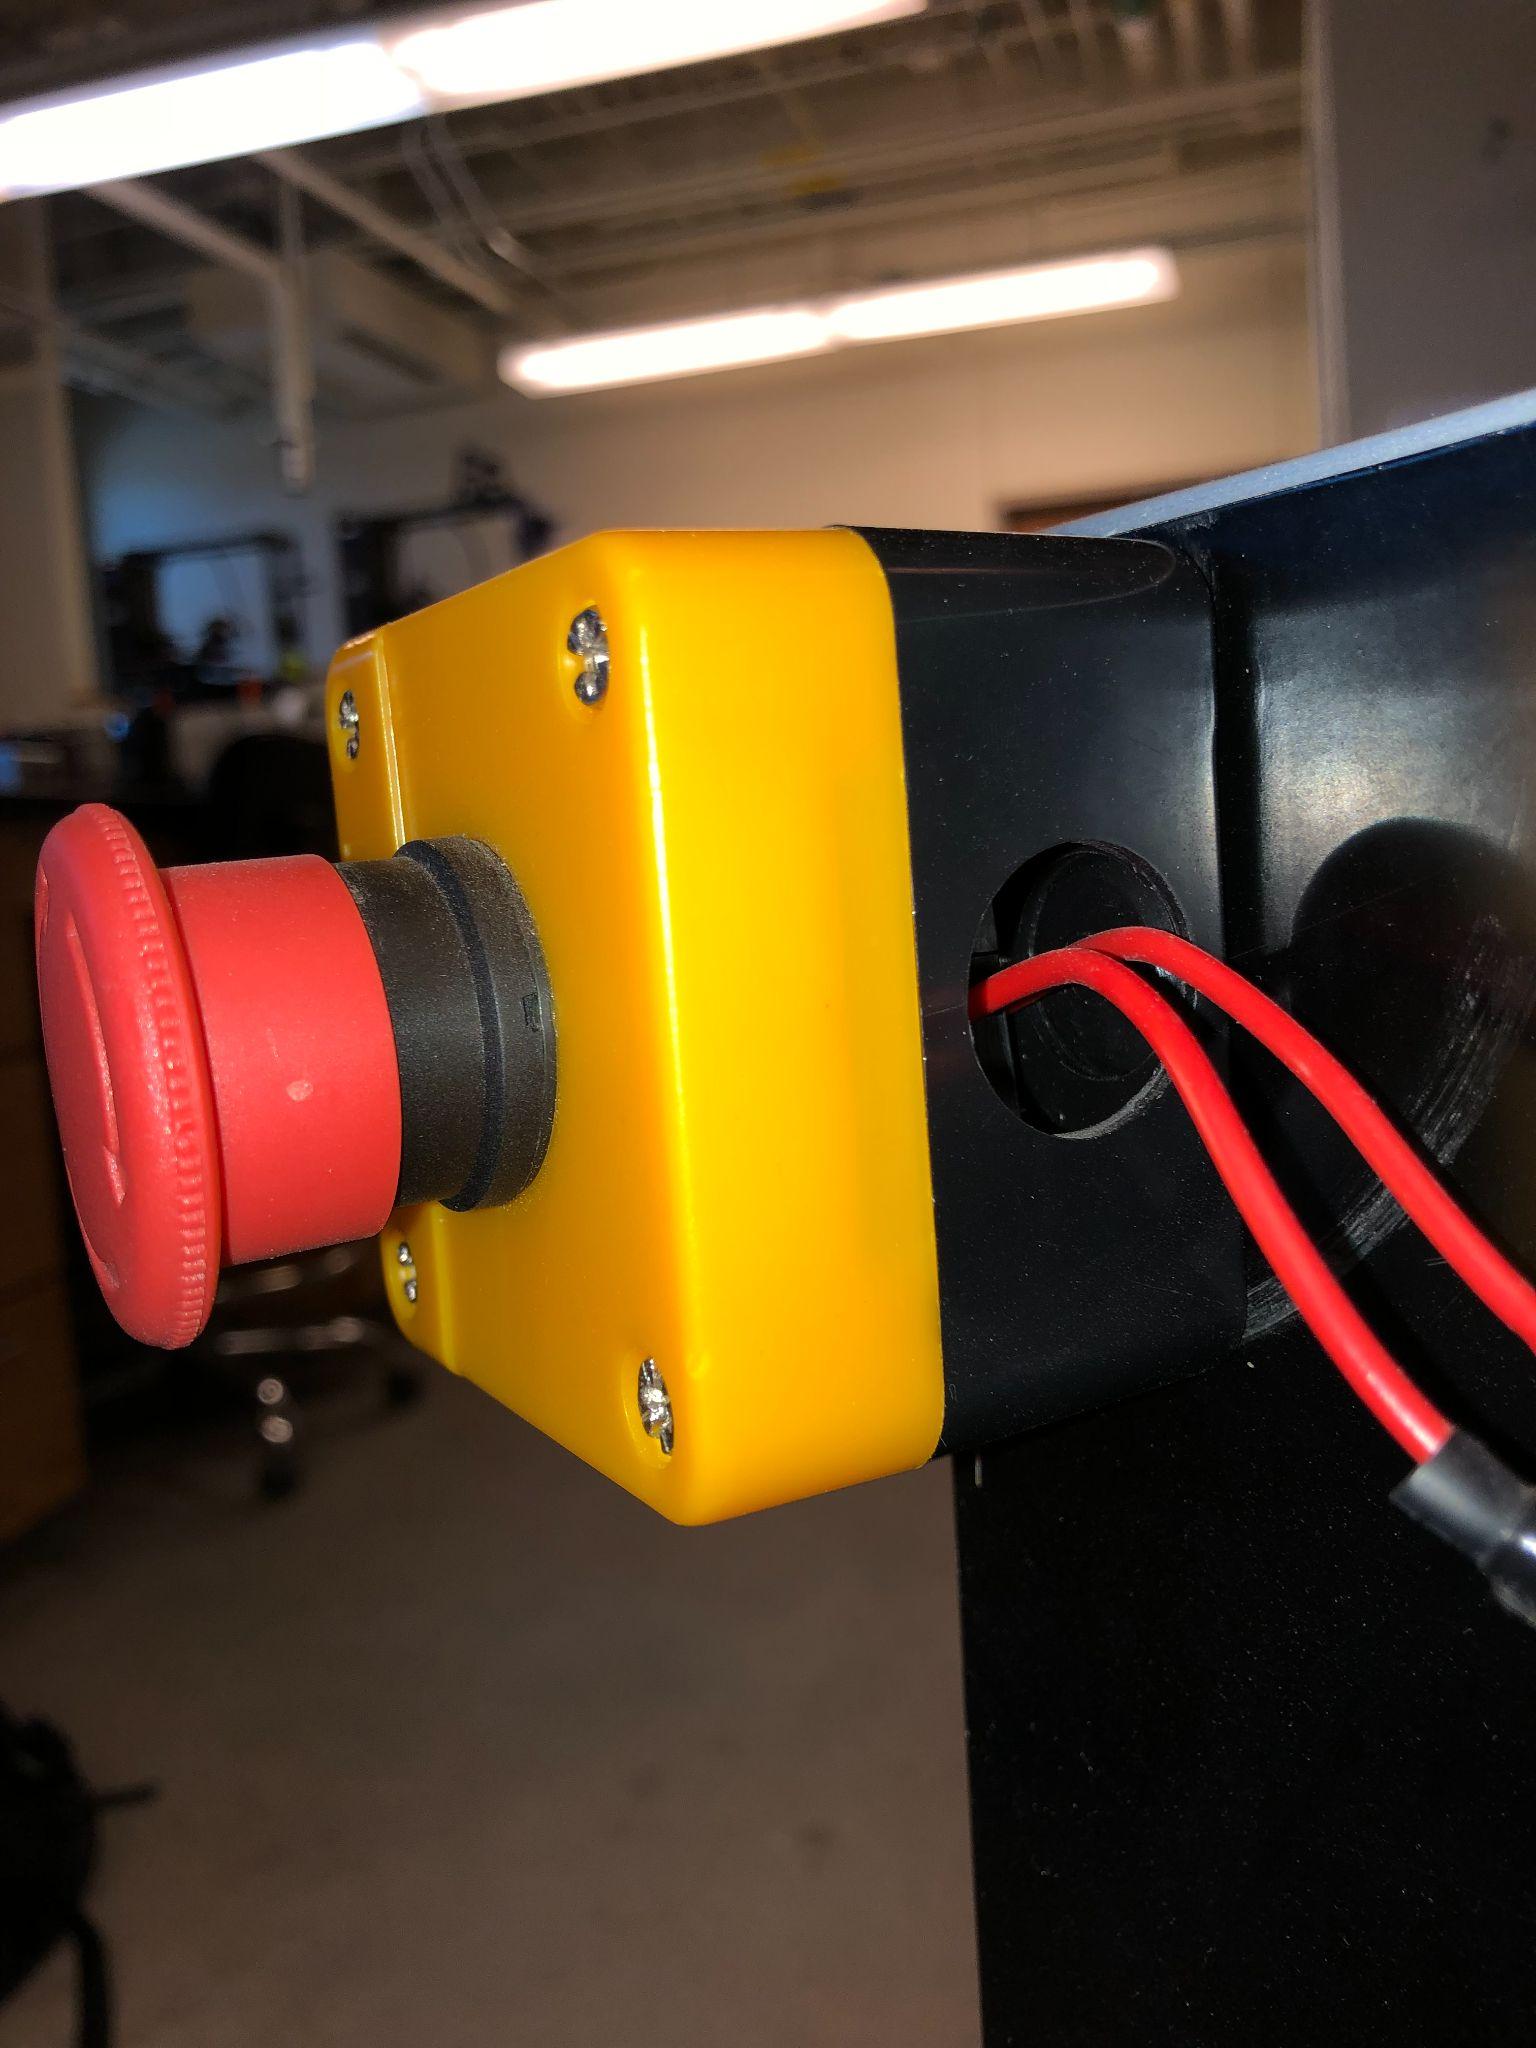
Main Product Image
Project Description
The Lasersaur is an open-source laser cutter that was first available for kit purchase in late 2010. The Lasersaur is capable of cutting patterns in many different bio-materials and some non-organic compounds as well. The machine incorporates a SmoothieBoard as it’s central control unit and is programmed with designs by the LaserGRBL software. The goal of this project has been to create a high-powered laser cutter without as much of the traditional cost involved.
Methodology in Brief
Initially, our goal was to finish getting the lasercutter in full working order. This goal was not achieved but there has been progress made toward that end.
Our first step that we took after being unable to get the gantry mechanism to move at all was to solve the problem of the diode alignment mechanism. Working with design from a previous semester as a base, we augmented our design to first add 2 inset hole allowing for rudimentary aiming along two axes aiming our laser along 1 axis.
The second step we took was to two additional inset holes allowing for aiming the laser diode much more accurately along the two axes.
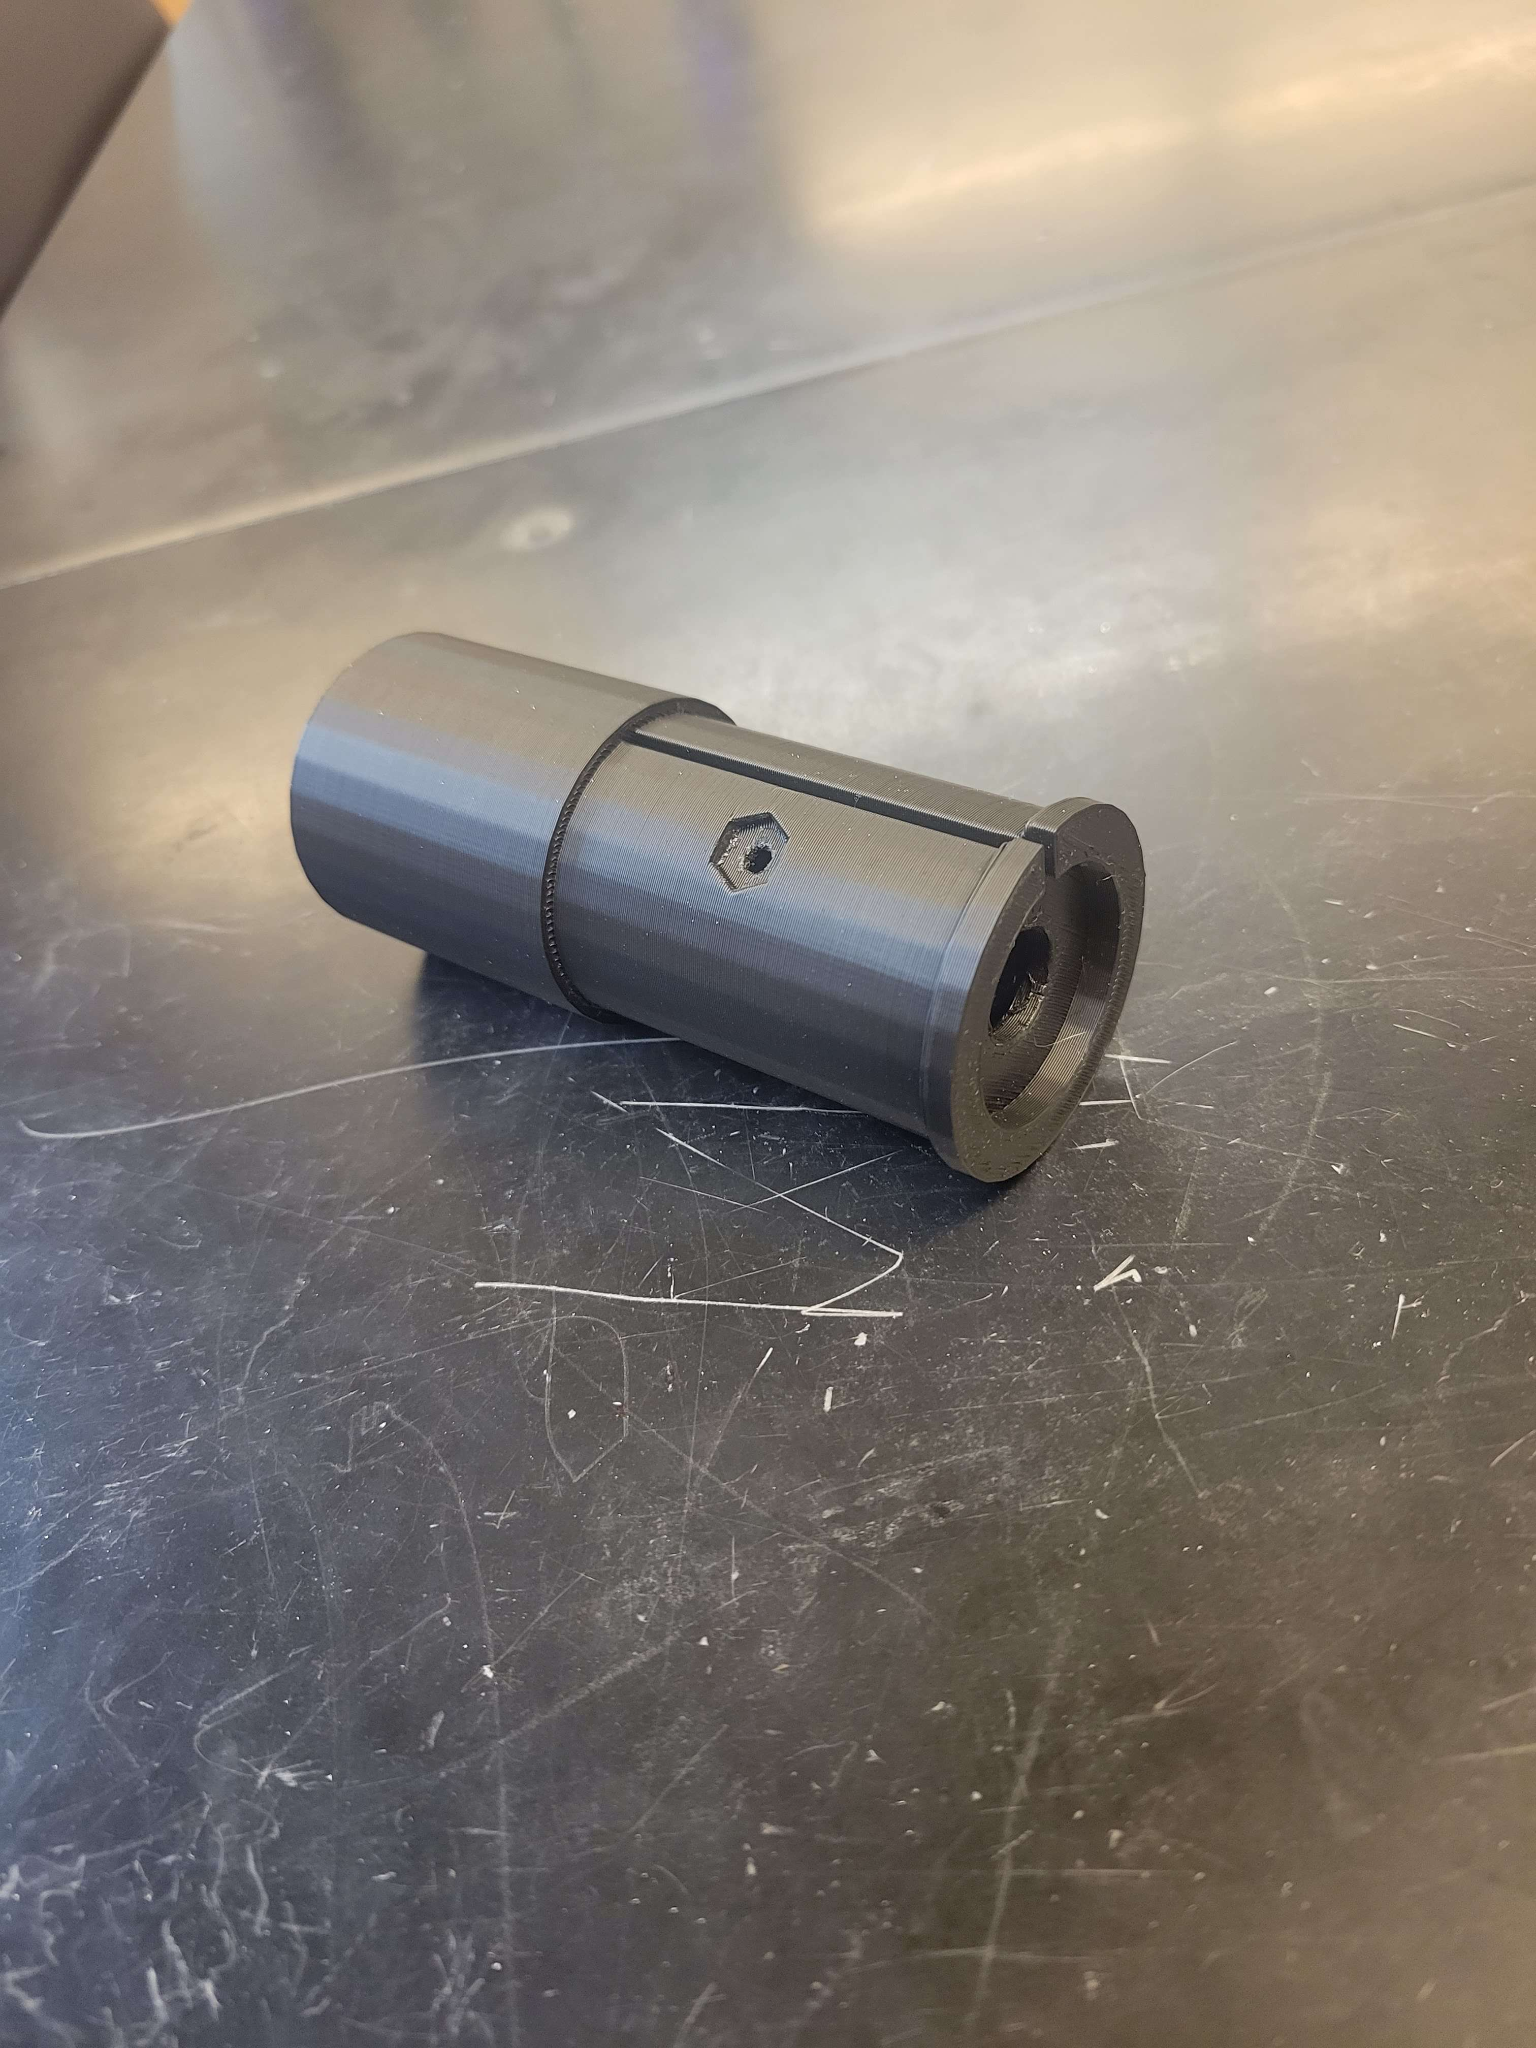
Version 1: Two Holes Version 2: Three Holes
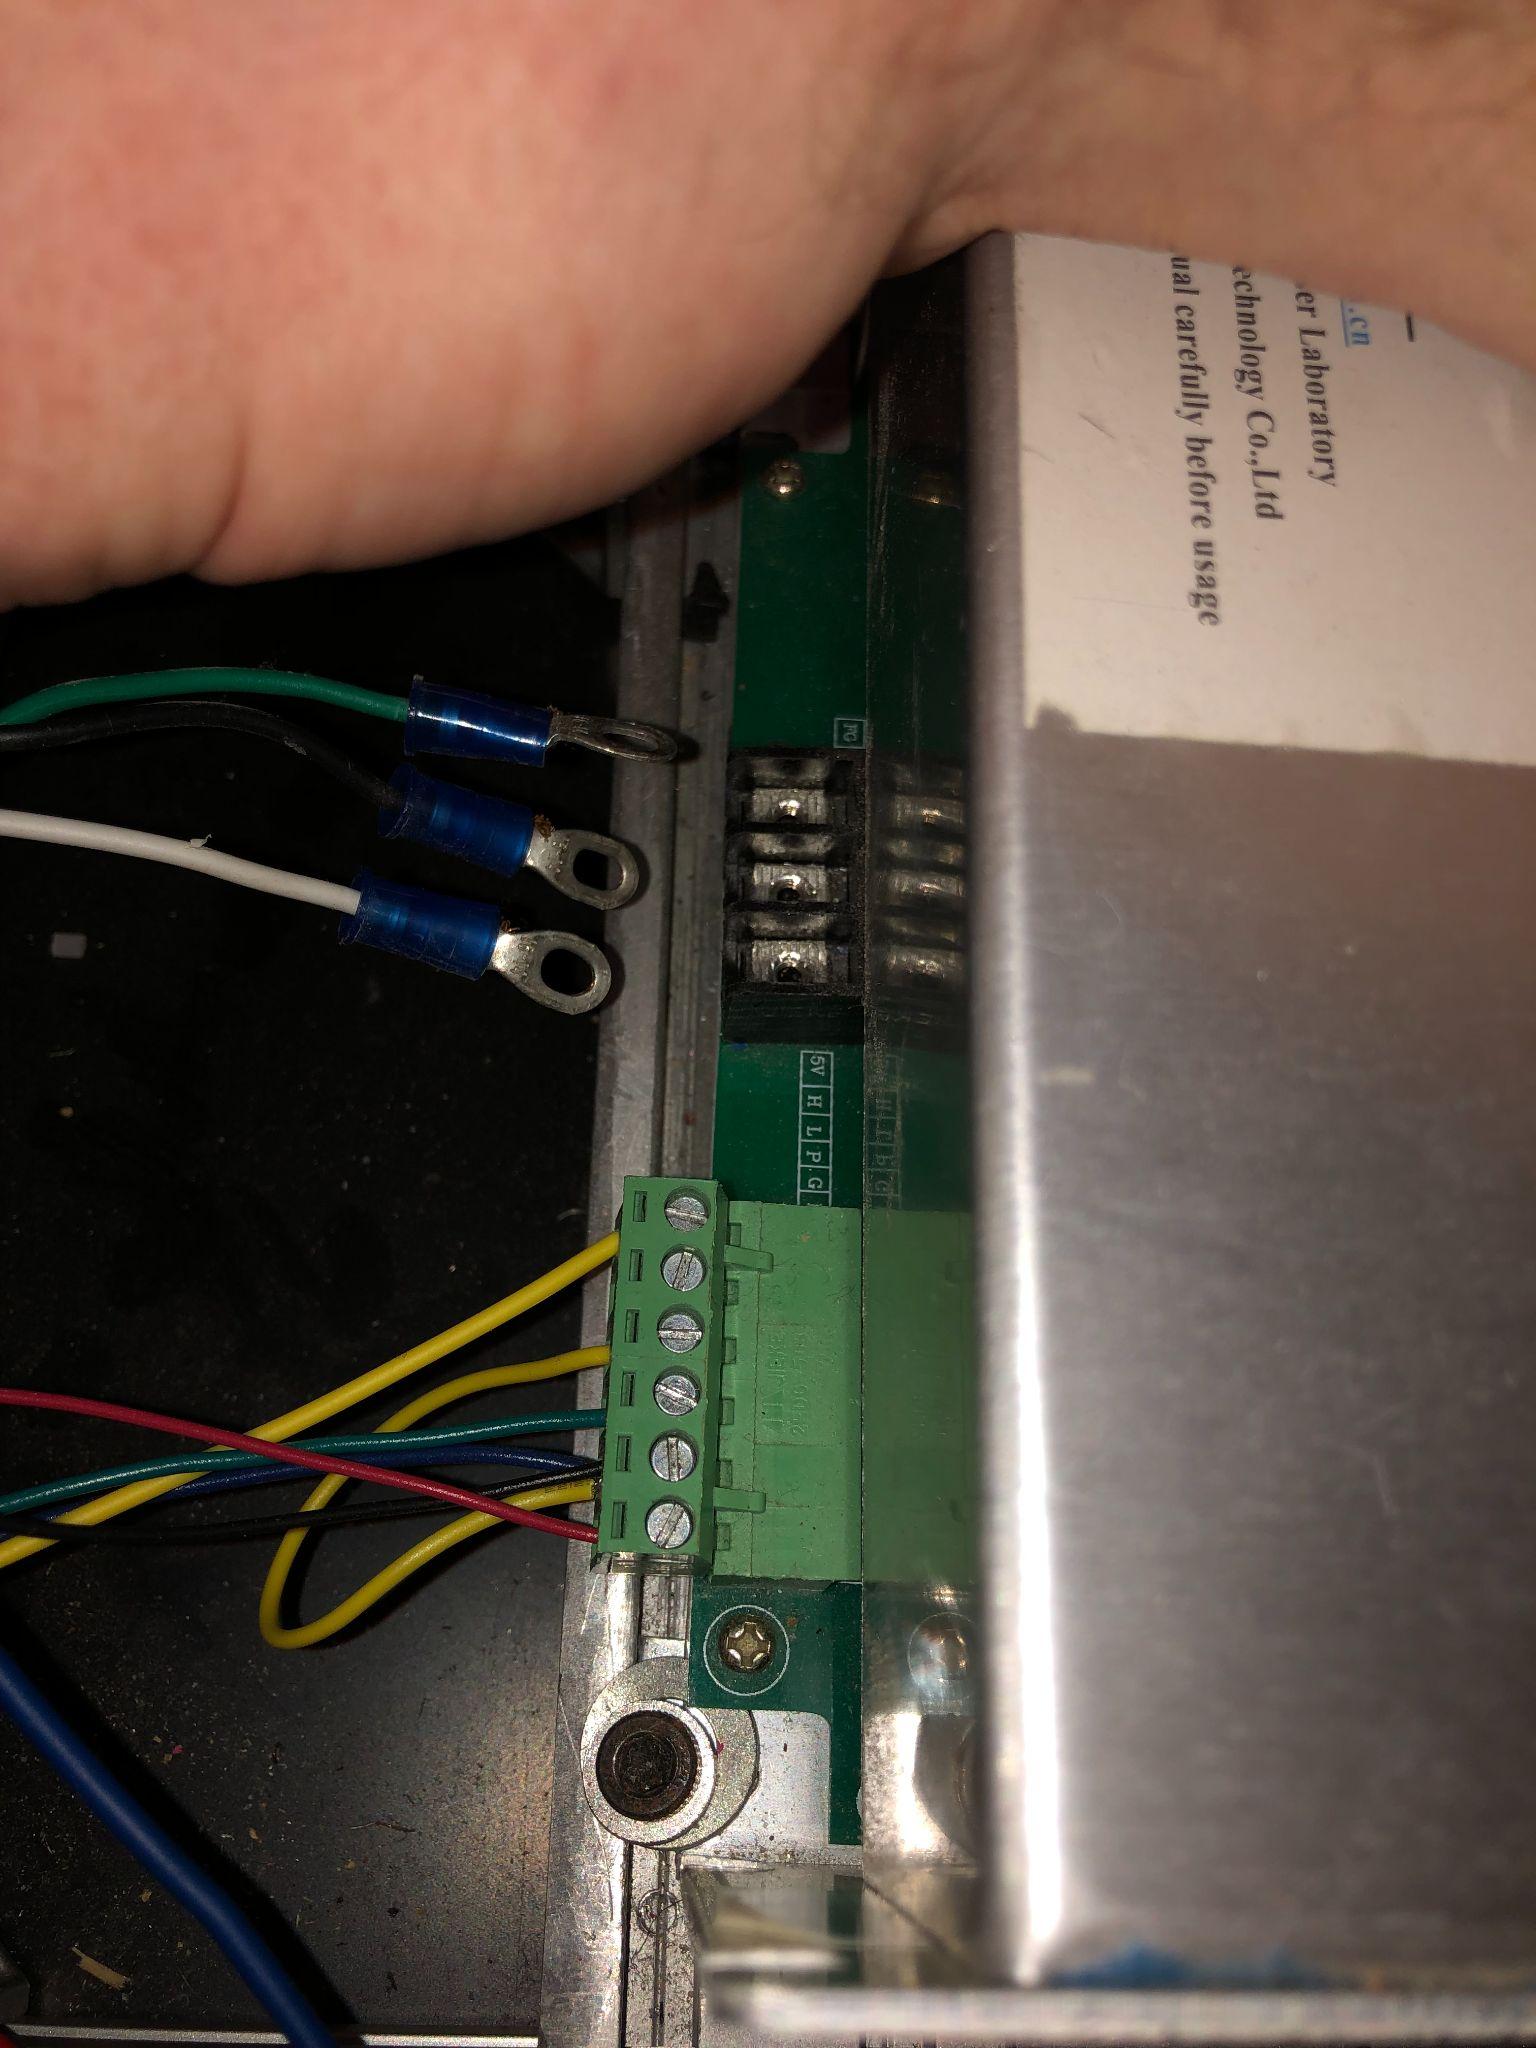
After meeting with Joey Klapkowski, we were able to recover the original configuration file. Using this config file, we were able to actually observe movement of the gantry system.
Once we were able to observe movement, we began working on aligning the mirrors inside the lasersaur to keep the diode reflected at full strength where we expected it to be. We noticed that we were able to align the laser cutter for a respectable area of the gantry movement system (about a 2 ft x 3ft rectangular area stayed in focus and aligned). Shortly afterward our diode burned out.
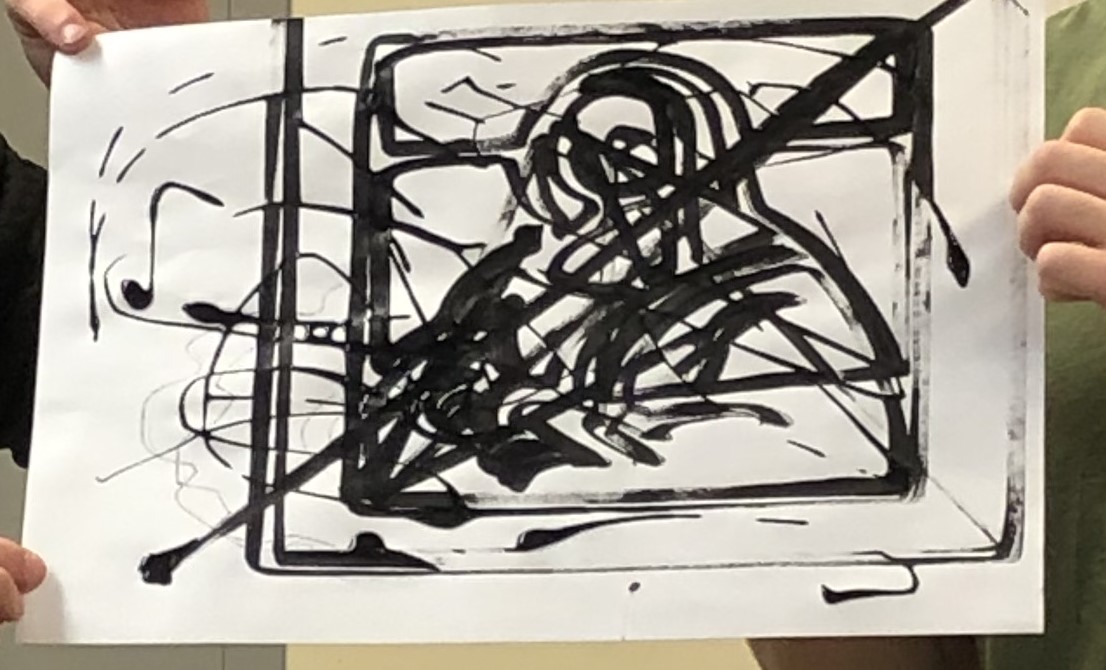
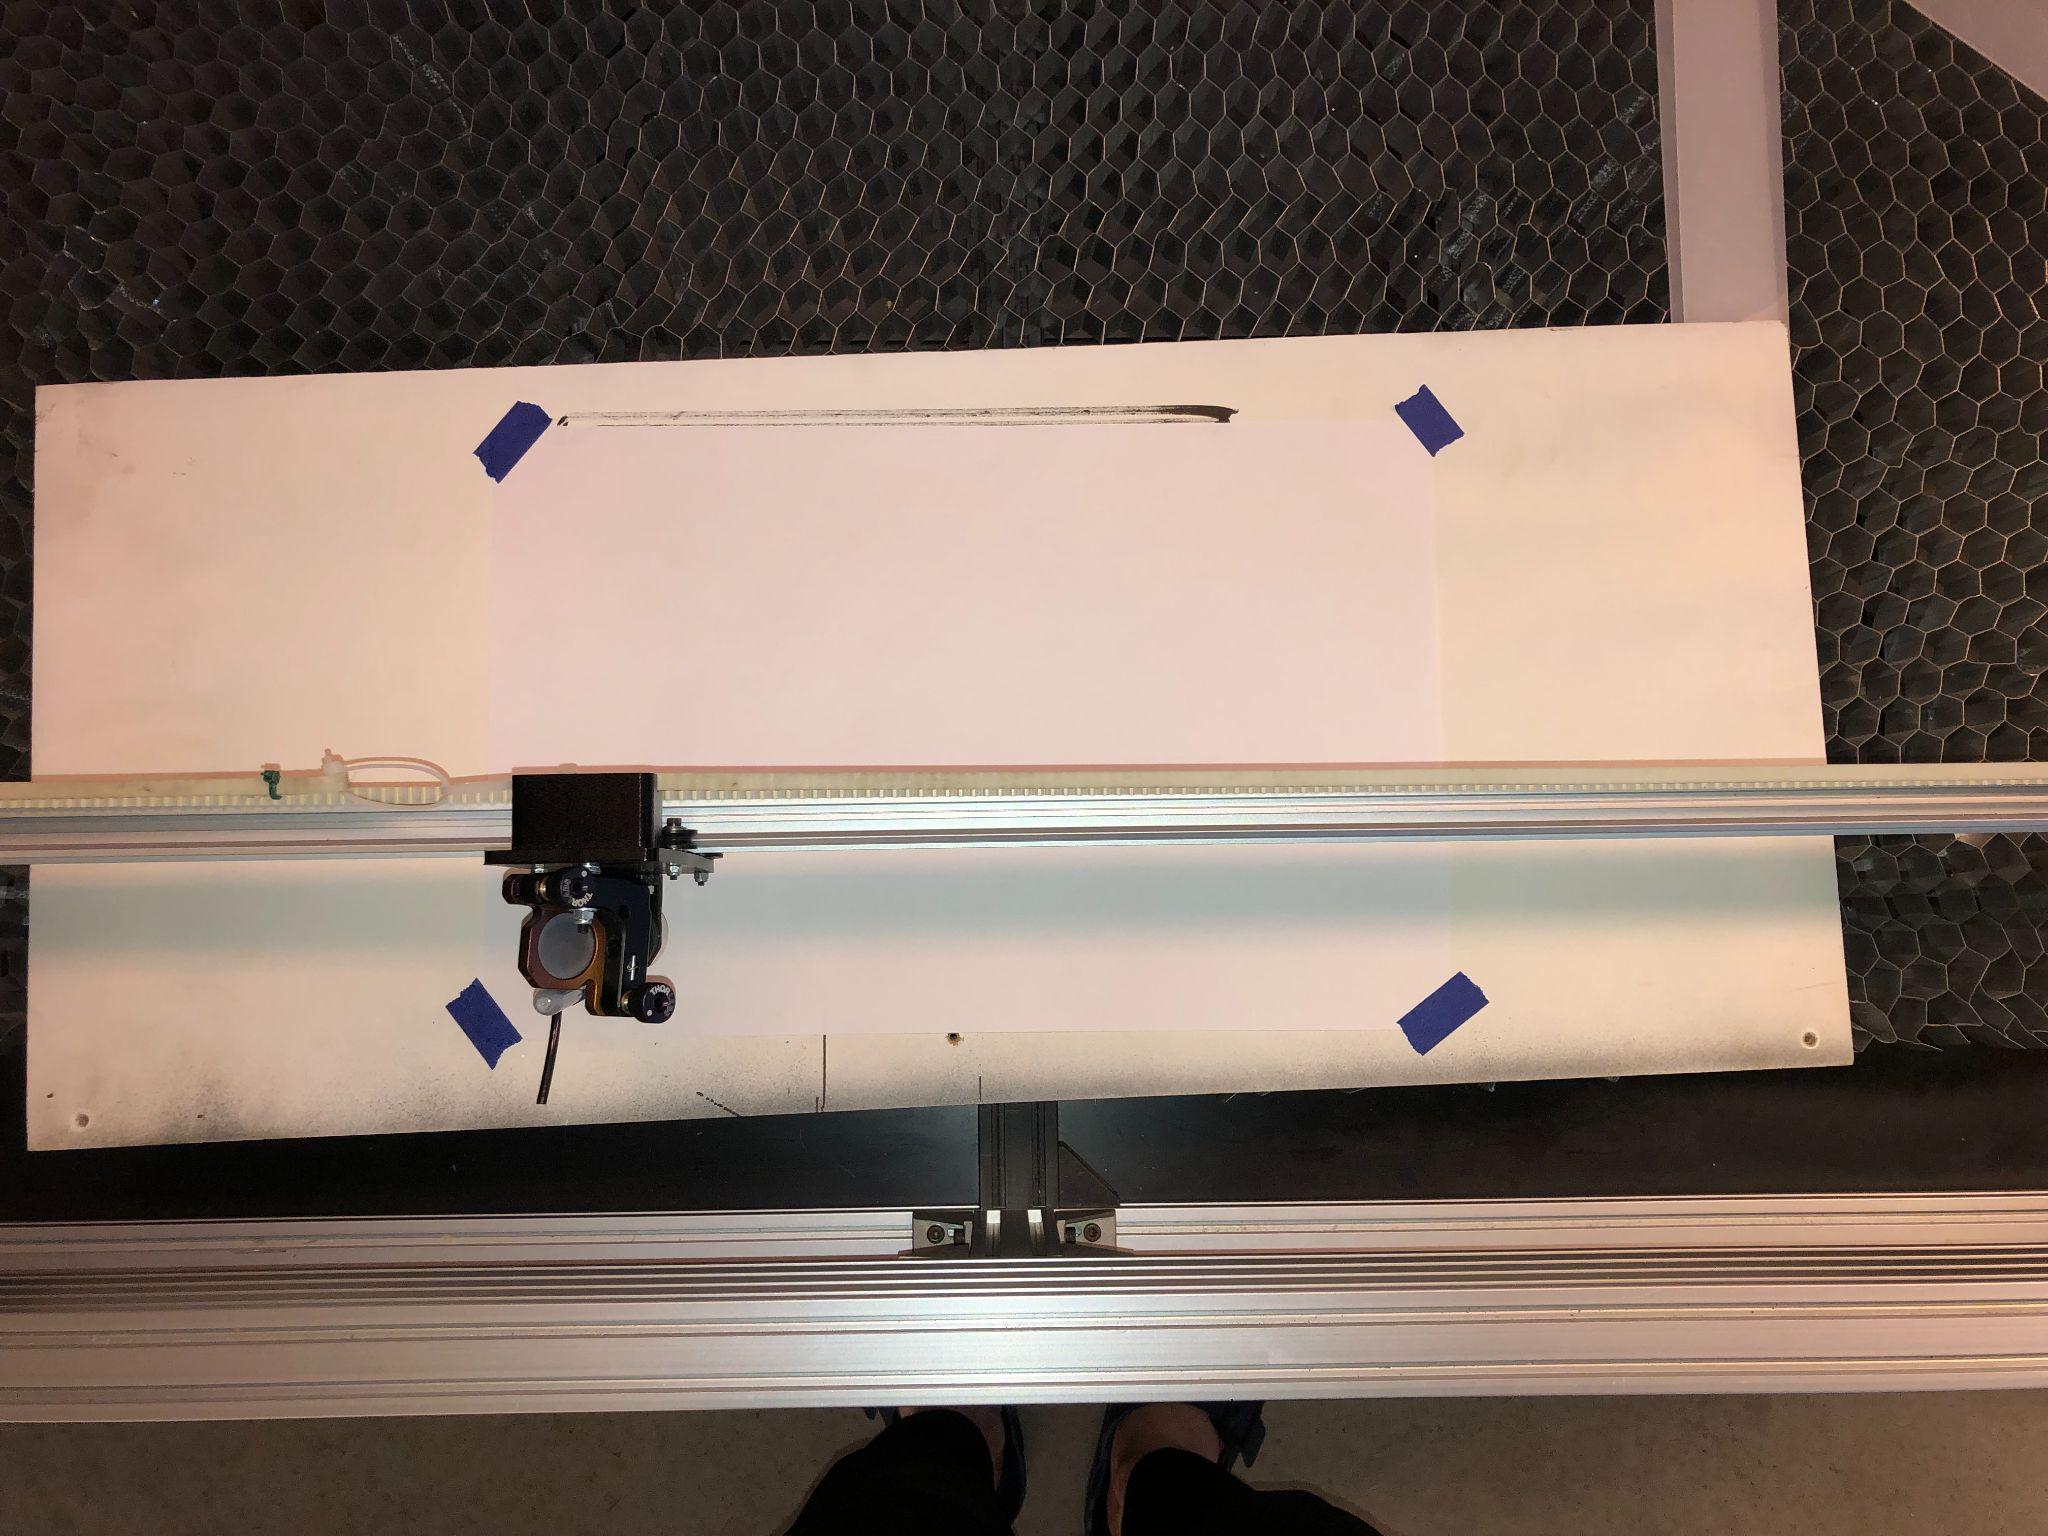
After our diode burned out, we looked for alternate means of testing the output of the Lasersaur. Since we had no way of aligning the CO2 laser, we looked to test the accuracy of the gantry movement system. After using both a sharpie and a paintbrush to trace the path made by the gantry, we learned that our creations were coming out stretched. 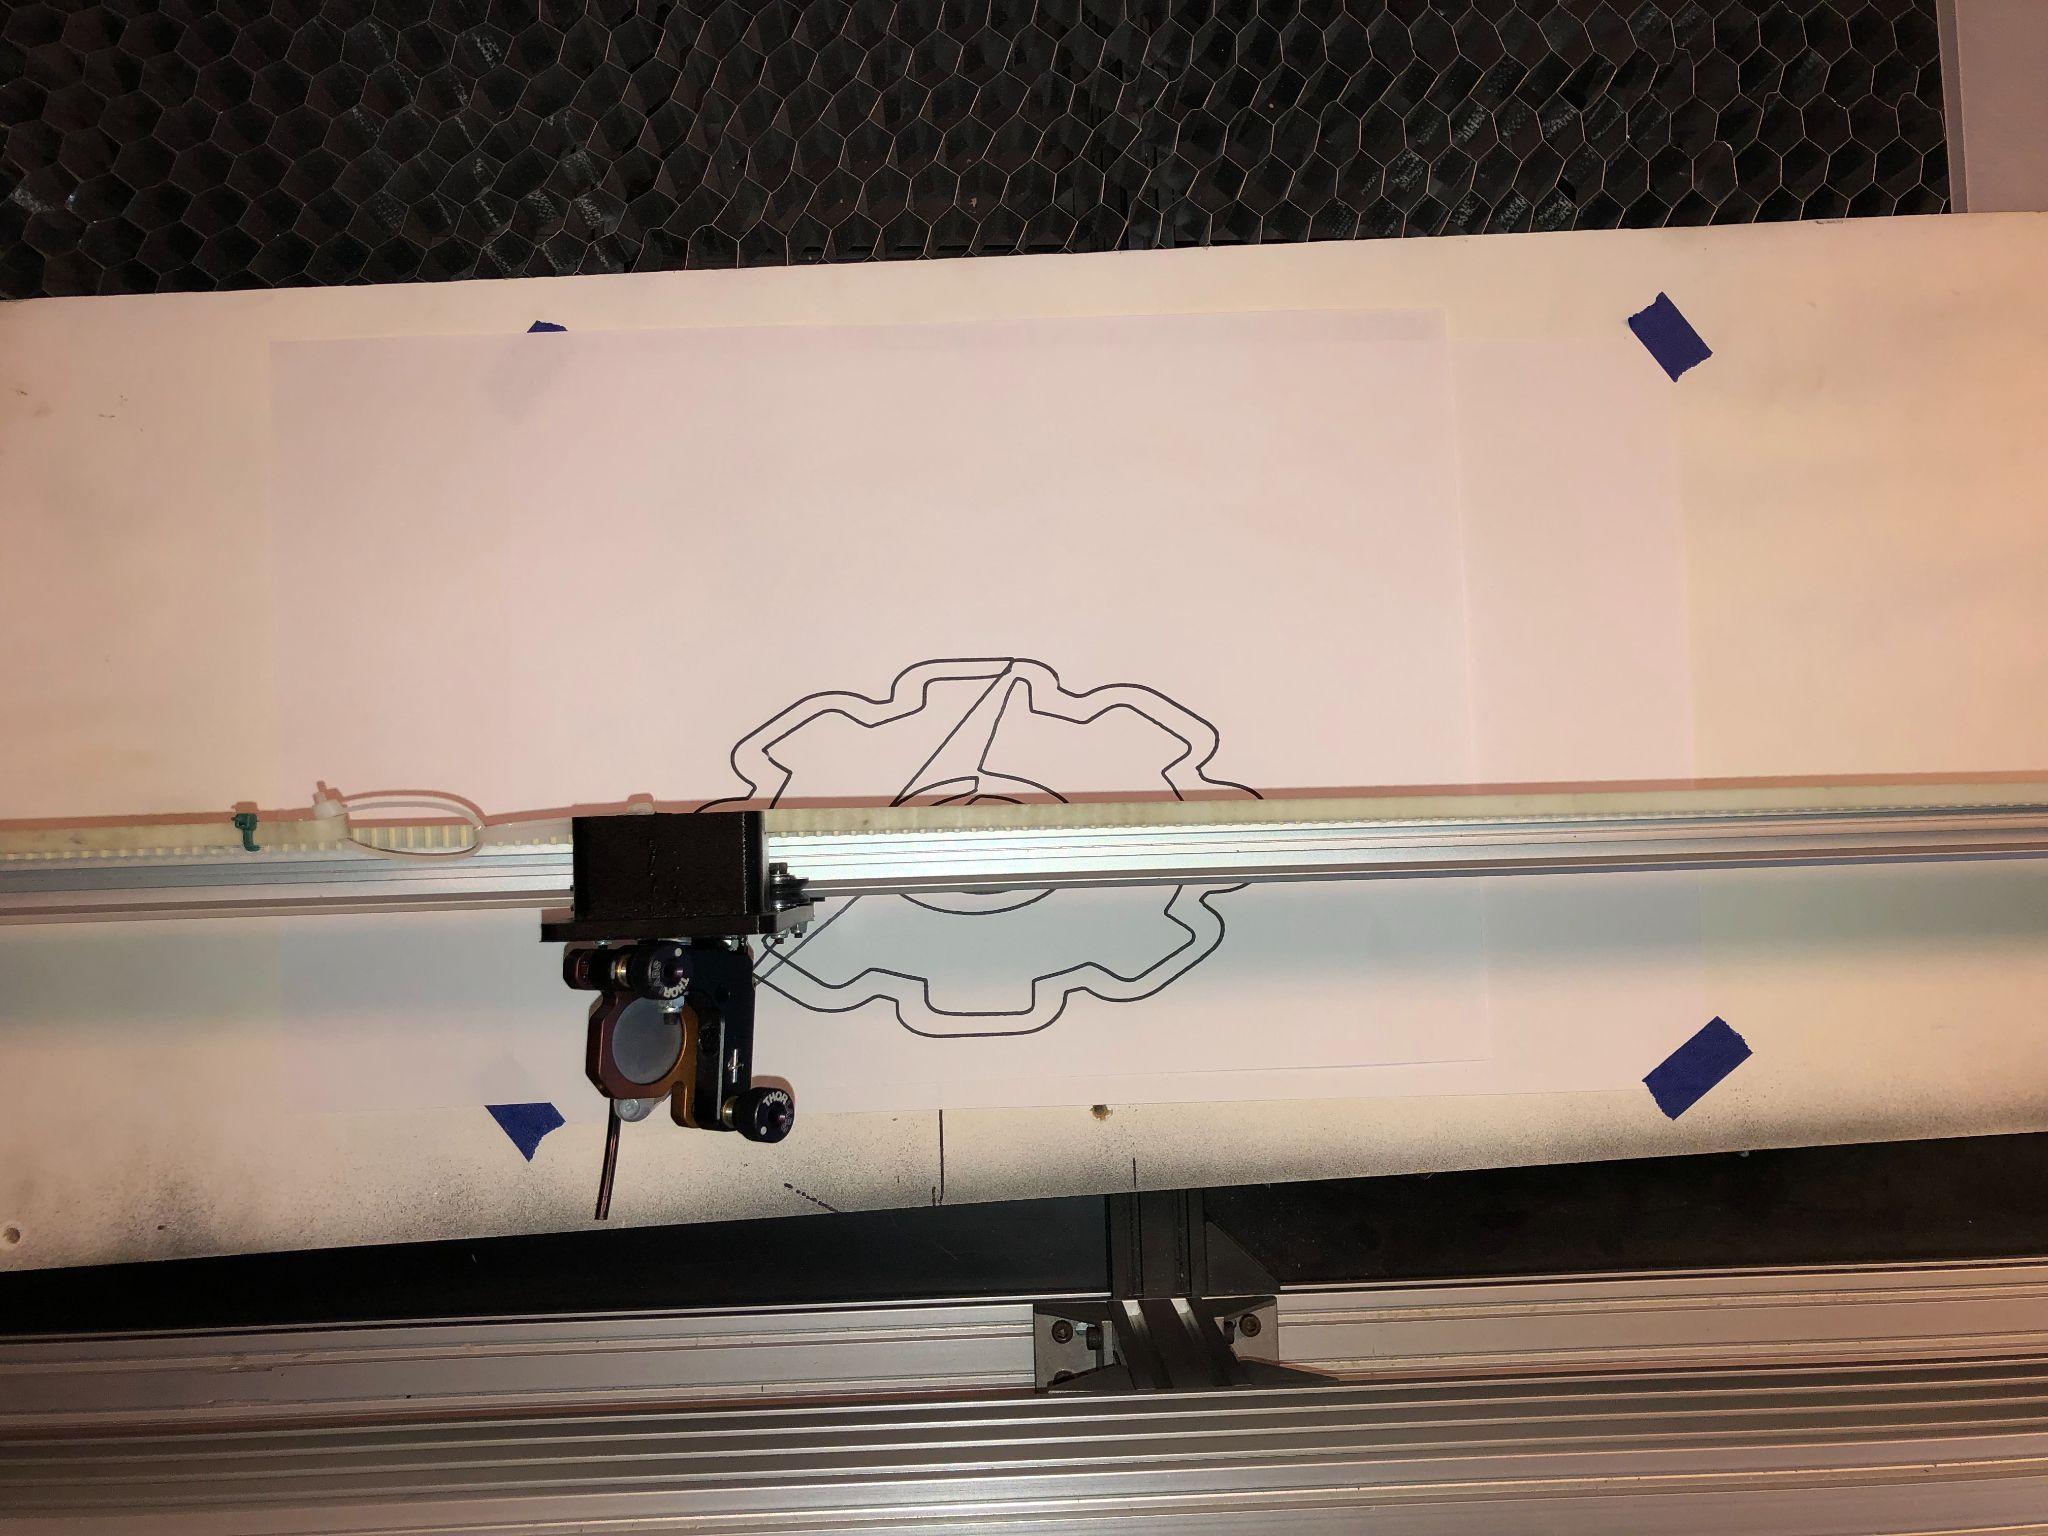
Stretched Gear Plotting
Finally, we augmented the configuration file such that the proportions traced out by the gantry system were accurate to the file provided to the machine.
Bill of Materials (BOM):
|
Description |
Part No. / Origin |
Cost |
|---|---|---|
|
1x Lasersaur laser cutter |
(previous semester build) |
(covered in previous reports) |
|
2x 3-d printed PLA laser diode alignment mechanism |
Printed |
~$2 |
|
1x Ring Terminal Connector – Blue |
Found in Shop |
$13.59 for 100 |
|
3x M4 Nut |
Found in Shop |
$13.59 for 270 + 270 Screws |
|
3x M4 Nut Screw |
Found in Shop |
$13.59 for 270 + 270 Nuts |
|
1x Hot Glue |
Found in Shop |
$6.28 for 50 |
|
1x laser diode |
Made by DaFuRui part number JGQ |
$18.99 for 3 |
Tools Used:
|
Quantity x Description |
Part / Version No. |
Cost. |
|---|---|---|
|
1x Wire Strippers |
Found in Shop |
$13.05 |
|
1x Multi-Meter |
Found in Shop |
$39.12 |
|
1x Laptop |
Acquired from UofM |
free |
|
1x LaserGRBL |
v1.0b |
free |
|
1x Small Phillips Head Screwdriver |
Found in Shop |
$4.99 |
|
1x CAD Software |
freeCAD |
free |
|
1x 3-D printer |
Lulzbot Printer |
$995 |
|
1x hot glue gun |
Found in shop |
$3.45 |
Assembly Instructions
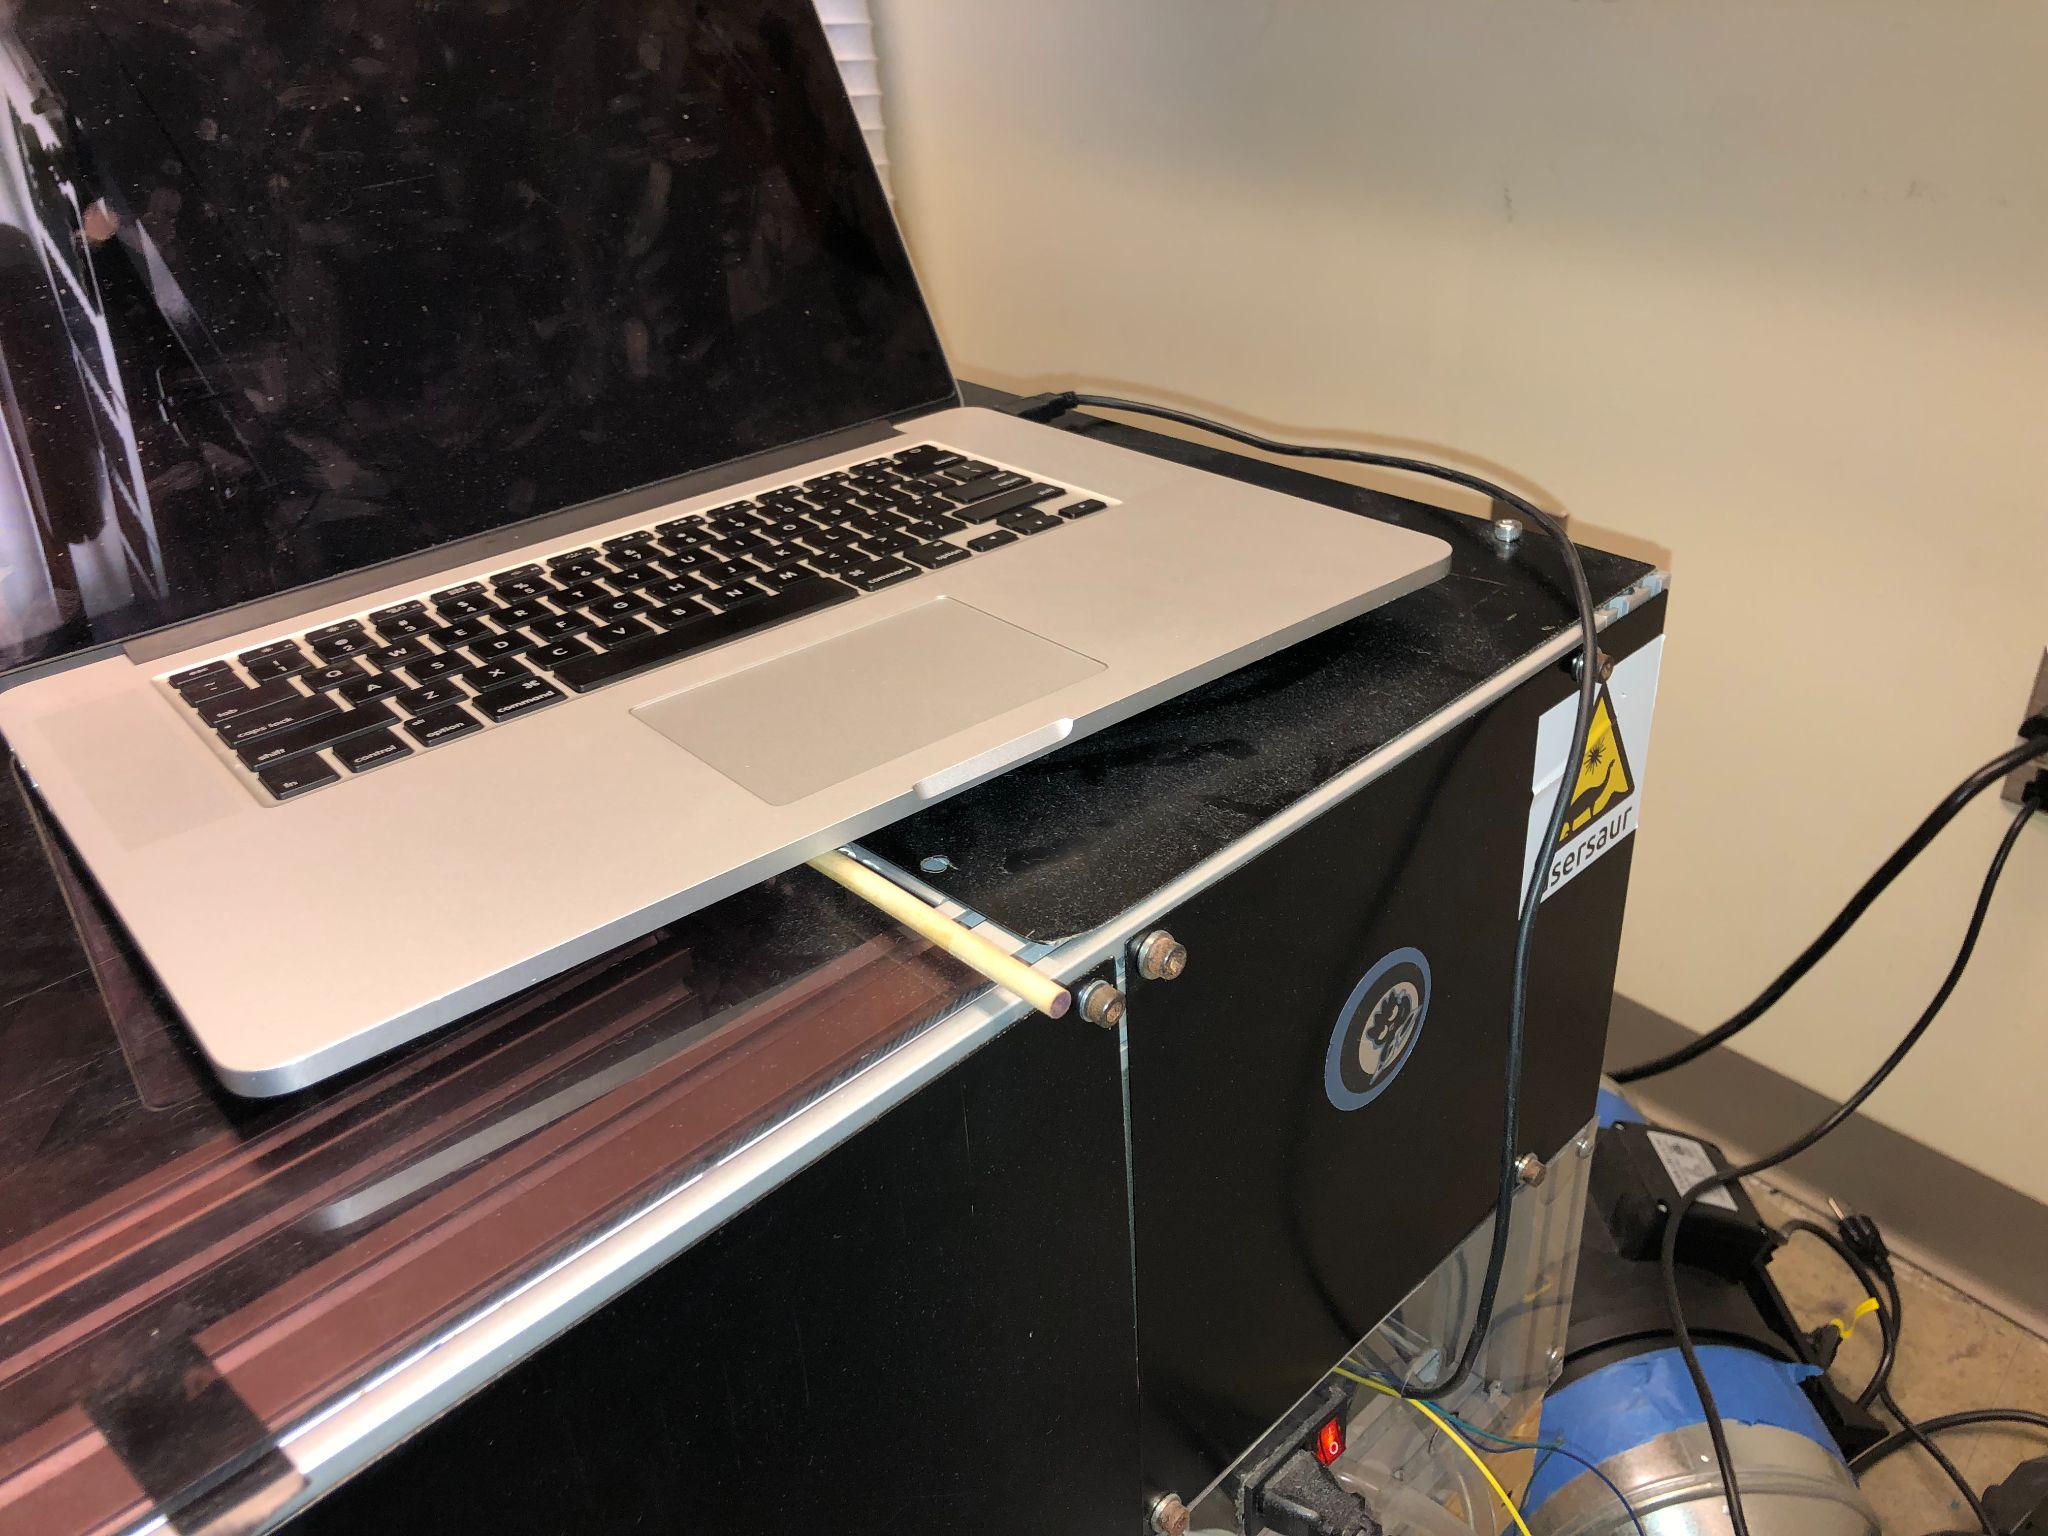
Since the laser portion of our Lasersaur has yet to be properly tested, this will be an instruction manual on using the pen plotting capacity of the gantry system.
-
- Confirm that the laser power supply is fully disconnected from the main power
- Confirm that the Emergency Stop is pulled out
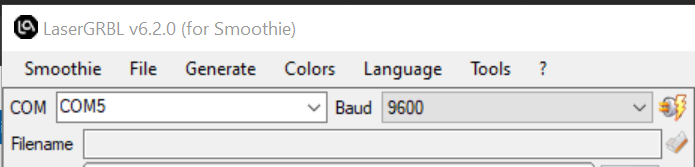
- Connect a Windows machine with LaserGRBL installed to the USB cable on the right back of the machine
- A File Explorer window will open on the windows machine. Close the file explorer window unless you wish to change the cofig file
- Open the LaserGRBL software and select the proper COM port for the USB connected to the Lasersaur
- Press the icon with the lightning bolt on it to connectt
- When the SmoothieBoard is properly connected to the LaserGRBL software we will see Smoothie populate in the G-Code window LaserGRBL.
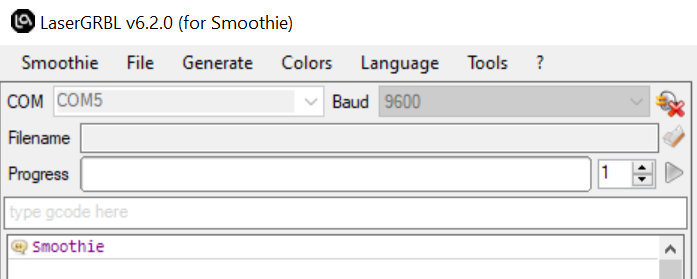
- Press the Home button in LaserGRBL to return the gantry system to its base point.
- Tape down a piece of paper to a flat board and place such that the bottom left of the paper is situated under the homed final mirror.
- Tape a marker or other plotting device to the final reflecting mirror such that the marker plots the path of the gantry system across the blank paper.
- Shim the board that the paper is taped down to such that the plotting device marks correctly across the entire working area.
- Import a flattened .svg file to LaserGRBL to create a path for the plotter to trace out.
- Press the green play button in LaserGRBL and leave standard options to start having the plotter trace (button will be green when properly connected with file imported)/.
- Wait for the plotter to finish
- Confirm that the laser power supply is fully disconnected from the main power
Characterization Data
When plotting the gear we noticed that that dimensions of our traces were not to scale. To attempt to fix the ratio, we measured the width and height of what was supposed to be a circle.
Our measurement for the inner diameter of the “circle” was 8 cm along the x-axis and 5 cm along the y-axis. To attempt to remedy this, we scaled the number steps taken along the x-axis by 5 / 8. This remedied most of the ratio problem but we still aren’t sure if either axis is accurate in scale to the true form factor meant to be represented by the file.
Sponsors/Acknowledgements:
We would like to thank Dr. Shane Oberloier and Joey Klapkowski for their help on this project.
References:
[1] J. Klapkowski and L. Manhart, “Home,” Open Source Hardware Enterprise, https://oshe.io/post/849/lasersaur-spring-2023/ (accessed Apr. 25, 2024).
[2] GUANGZHOU TEYU ELECTROMECHANICAL, “CW-3000 Chiller Manual. .. pdf.,” CW-3000 user manual, https://irp.cdn-website.com/9bb0421a/files/uploaded/Chiller_CW3000_Manual.pdf (accessed Apr. 26, 2024).
[3] SmothieProject, “Documentation,” Smoothieboard – Smoothie Project, https://smoothieware.github.io/Webif-pack/documentation/web/html/smoothieboard.html (accessed Apr. 25, 2024).
[4] S. Hechenberger, “Lasersaur manual,” Lasersaur Manual, https://www.lasersaur.com/ (accessed Apr. 25, 2024).